Seamless Transitions: Mastering the Art of Smooth Scene Changes

It’s no coincidence that the most memorable films and performances often feature impeccable scene changes.
You might wonder how directors and editors achieve such fluidity without breaking the audience’s immersion.
The secret lies in mastering techniques like cross dissolves, jump cuts, and strategic lighting.
Have you ever noticed how a well-placed light can guide your eyes smoothly from one scene to the next? Or how a perfectly timed cut can make time feel elastic?
These methods are essential, yet there’s more beneath the surface that can elevate your storytelling to a professional level.
Curious? Let’s explore further.
Table of Contents
Understanding Scene Transitions

When you master scene shifts, you create a fluid, engaging narrative that keeps your audience immersed in the story. Understanding scene shifts is vital for achieving this seamless flow.
You use cutting techniques to switch from one scene to another, ensuring that each shift serves the story’s emotional pacing. By doing so, you guide your audience through the narrative without jarring interruptions.
Visualize a moment where a character is about to make a life-changing decision. A hard cut to a close-up of their face captures their internal struggle, enhancing the emotional intensity.
Conversely, a slow dissolve can signify a passage of time, gently easing the viewer into the next scene.
These techniques directly affect how the audience feels and reacts, making them essential tools in your filmmaking arsenal.
When crafting your shifts, consider the emotions you want to evoke. Quick cuts can create a sense of urgency or chaos, while longer, smoother shifts can convey calm or continuity.
By mastering these cutting techniques, you control the emotional pacing of your story, ensuring that each scene flows naturally into the next, keeping your audience fully engaged.
Techniques in Film Editing

Mastering various film editing techniques allows you to create a visually compelling narrative that captivates your audience. One essential method is the cross dissolve technique.
This involves gradually blending one shot into another, creating a smooth shift that can convey the passage of time or a change in location. It’s particularly effective for establishing a mood or linking scenes with a thematic connection.
To execute a cross dissolve, overlap your clips in the timeline and apply a dissolve effect, adjusting the duration to match the desired pacing.
Another powerful tool is the jump cut. Unlike the fluidity of cross dissolves, jump cuts create a jarring yet intentional interruption in continuity, often used to depict rapid movement or disjointed thoughts.
By removing frames within a single shot, you can compress time or highlight the urgency of a moment. Place your cuts strategically to maintain narrative coherence while accentuating the desired impact.
Utilizing these techniques effectively requires a balance of creative vision and technical precision. Experiment with different approaches, paying close attention to how each shift serves your story. With practice, you’ll seamlessly guide your audience through the visual journey you’ve crafted.
Lighting Tricks for Flow

To create seamless shifts, focus on strategic light positioning to guide the viewer’s eye.
Control color temperature for consistency and mood across scenes.
Utilize dimmers and fade effects to smoothly blend one shot into the next.
Strategic Light Positioning
Ever wondered how strategic light positioning can seamlessly guide your audience’s attention and enhance the flow of your scenes?
Using light effectively can transform your set, making changes smooth and immersive.
Begin with natural shadows; they help create depth and can subtly shift focus from one area to another. By manipulating shadows, you can direct the viewer’s eye without them even realizing it.
Next, consider spotlight positioning. A well-placed spotlight can highlight key elements or characters, drawing the audience’s attention precisely where you want it. This technique is invaluable for emphasizing critical moments while ensuring the surrounding scene fades gently into the background.
To evoke emotion and create fluid scene adjustments, follow these steps:
- Identify key focal points: Determine where you want the audience to look during adjustments.
- Use soft lighting: Avoid harsh contrasts; soft lights provide a smooth visual flow.
- Layer your lighting: Combine different light sources to build depth and dimension.
- Adjust intensity gradually: Slowly increasing or decreasing light intensity can make adjustments feel natural.
Color Temperature Control
Adjusting color temperature can significantly influence the mood and flow of your scenes, guiding the audience’s emotional journey seamlessly. By manipulating the Kelvin scale, you can create a wide range of atmospheres.
Warm lighting, around 2700K to 3000K, evokes feelings of coziness and intimacy, ideal for personal or romantic scenes.

On the other hand, cool lighting, ranging from 5000K to 6500K, gives a scene a clinical, detached, or futuristic vibe.
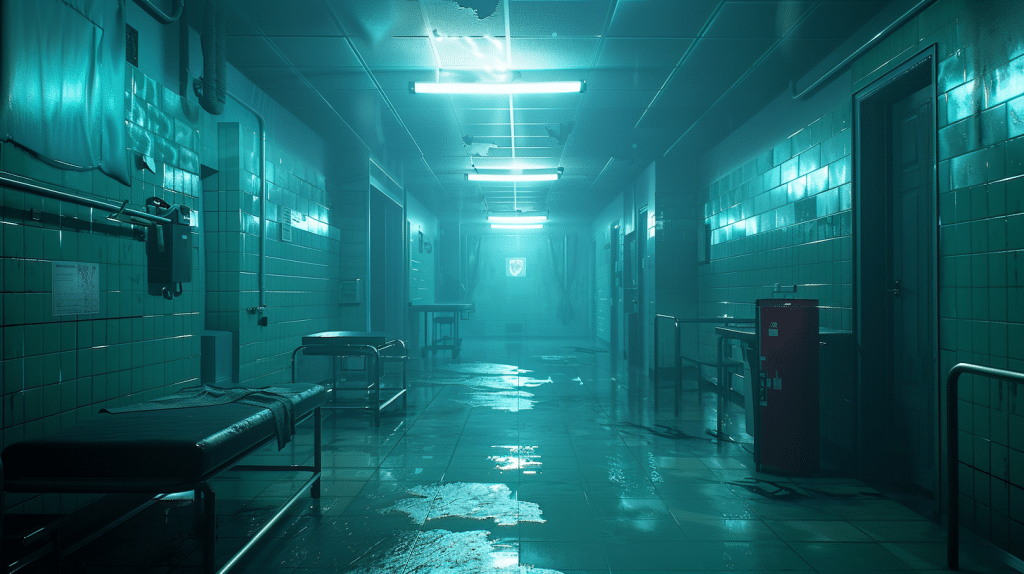
To achieve a consistent look, always check your white balance settings. Proper white balance guarantees that colors appear natural and consistent across different lighting conditions.
For instance, if you’re shifting from an indoor scene to an outdoor one, you might change from a warm (indoor) to a cool (outdoor) color temperature. This subtle adjustment can signify a change in time, location, or mood without jarring the viewer.
When adjusting color temperatures, use gels or LED lights with adjustable settings to fine-tune your lighting. This control allows you to smoothly shift between scenes, maintaining visual harmony.
Remember, the goal is to guide your audience through the narrative without them noticing the technical adjustments.
Dimmer and Fade Effects
Building on the nuanced control of color temperature, dimmer and fade effects offer another layer of sophistication for smoothly guiding your audience’s focus and emotions.
Stage dimming and smooth fades are powerful tools to control the mood and pacing of your scenes. By adjusting the intensity of the lights, you can subtly shift the audience’s attention and evoke the desired emotional response.
To master these effects, consider the following:
- Gradual Progressions: Implement smooth fades to gradually dim or brighten the stage, avoiding abrupt changes that could jar the audience out of the moment.
- Emotional Pacing: Use stage dimming to slow the pace during poignant moments or heighten tension during climactic scenes, seamlessly enhancing the narrative flow.
- Highlighting Focus: Dim surrounding lights to draw attention to a specific area or character, creating a natural spotlight effect that guides the audience’s gaze.
- Textural Depth: Vary light intensity across different stage areas to add depth and dimension, making your scenes visually rich and engaging.
Set Design in Theater
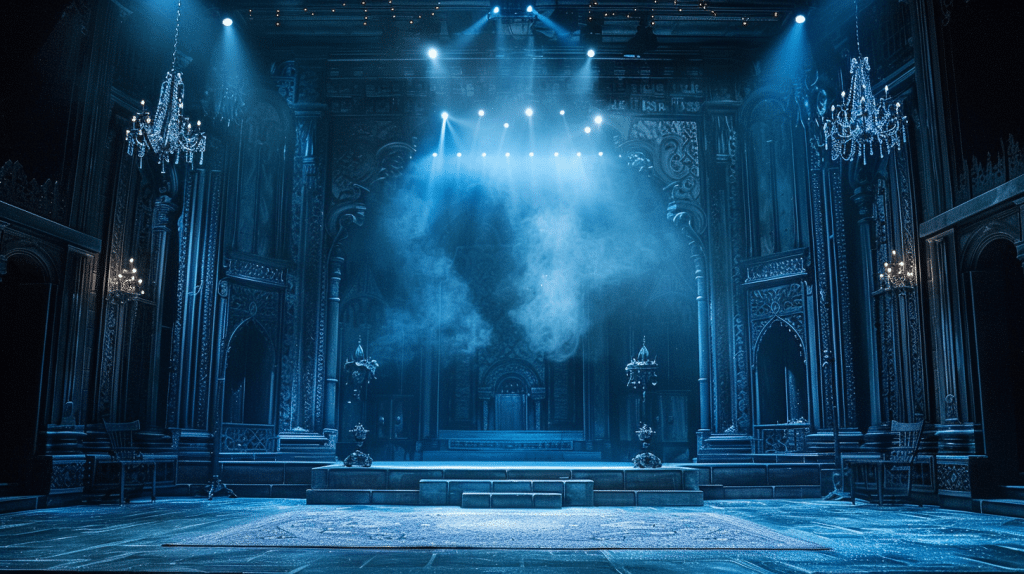
When designing a set, prioritize visual storytelling elements to convey the scene’s essence instantly.
Place props strategically to guide audience focus and facilitate quick shifts.
Use lighting and ambiance to enhance mood and guarantee seamless scene changes.
Visual Storytelling Elements
Effective set design in theater visually communicates the narrative’s mood, time period, and environment to the audience.
It’s essential for creating emotional resonance and crafting visual metaphors that deepen the story. A well-designed set does more than depict a place; it evokes emotions and supports the narrative’s themes.
To achieve this, follow these steps:
- Color Palette: Select colors that reflect the emotional tone. Warm hues can evoke comfort or passion, while cool tones might suggest isolation or calm.
- Textures and Materials: Use varied textures to create depth and realism. Rough, aged surfaces can signify decay or history, while smooth, sleek materials might represent modernity or sterility.
- Lighting Design: Integrate lighting that enhances the set’s mood. Soft, diffused light can create intimacy, while harsh, directional lighting might suggest tension or conflict.
- Spatial Arrangement: Arrange set elements to guide the audience’s focus. Cluttered spaces can feel chaotic or intense, whereas open, minimal designs can convey peace or loneliness.
Strategic Prop Placement
Strategic prop placement guarantees that every object on stage not only enhances the visual storytelling but also aligns seamlessly with the narrative’s flow. Your first task is to optimize prop concealment.
This means you’ll hide or disguise props until they’re needed, making sure they don’t distract the audience or clutter the stage. Use curtains, furniture, or even actors to strategically obscure items until their reveal.
Next, focus on object continuity. Consistency is key; each prop must look like it belongs in the scene and matches the storyline’s era and setting.
A prop from one scene might need to reappear in another, so make certain it’s placed in a manner that allows for easy access and minimal disruption. Avoid abrupt shifts by maintaining a visual and thematic consistency in prop usage.
Also, consider multifunctional props. A single item can serve multiple purposes across different scenes, reducing the need for numerous objects and streamlining changes. For example, a table might double as a desk in one scene and a dining table in another.
Lighting and Ambiance
While your props set the stage’s physical landscape, lighting and ambiance breathe life into the scene, creating mood and guiding audience focus.
Mood lighting is your toolkit for evoking emotion and telling the story without words. You can manipulate shadows and highlights to define spaces, characters, and shifts seamlessly.
Ambiance creation involves more than just flicking a switch; it’s about crafting an immersive environment that complements the narrative.
To master lighting and ambiance, consider these techniques:
- Color Temperature: Warm colors (reds, oranges) evoke warmth and intimacy, while cool colors (blues, greens) create tension or calm.
- Intensity Adjustment: Bright lights can energize a scene, while dim lights can suggest secrecy or danger.
- Directional Lighting: Spotlights and sidelights can focus attention on key characters or actions, guiding the audience’s gaze.
- Texture and Patterns: Gobos and filters can cast intricate shadows and textures, adding depth and complexity to scenes.
Each lighting choice you make should serve a purpose, enhancing the audience’s emotional journey. By mastering these techniques, you’ll make sure that each scene change isn’t just seamless, but also deeply impactful.
Choreography for Seamlessness
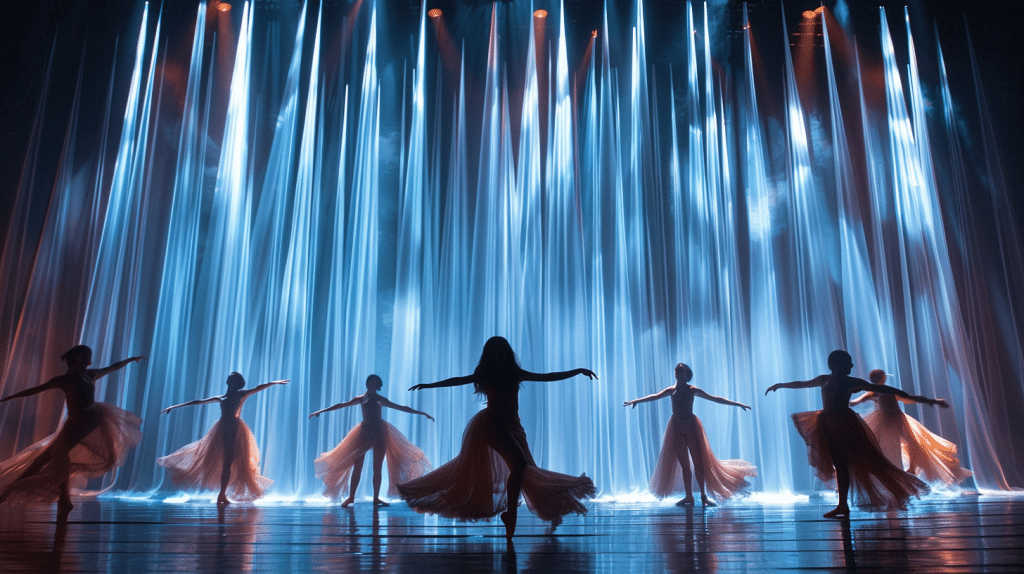
Integrating precise timing and fluid movement, choreographing shifts between scenes guarantees each scene change feels natural and engaging.
You need to coordinate actor movement seamlessly, ensuring they exit and enter with purpose and efficiency. Changeover cues are critical; they signal actors to initiate their movements and execute scene changes without hesitation.
First, map out the choreography meticulously. Visualize every actor’s path during changeovers, minimizing collisions and maximizing fluidity.
Every step and gesture should be premeditated, creating an unbroken flow. Use rehearsals to drill these movements until they become second nature. Each actor should be aware of their role in the changeover, whether they’re moving set pieces or shifting positions.
Second, synchronize changeovers with auditory or visual cues. These cues can be subtle lighting changes, sound effects, or even a specific line of dialogue. Actors should be trained to respond instantly to these signals, ensuring split-second timing.
Literary Scene Shifts

Just as choreographing physical movements guarantees smooth scene changes on stage, mastering literary scene shifts demands precise control over narrative flow and pacing. Imagine your reader’s experience as a seamless journey.
You can achieve this by carefully orchestrating shifts that maintain momentum and deepen character development.
Establish Clear Markers: Use visual cues like chapter breaks or asterisks to signal shifts. This helps the reader mentally prepare for a new scene, avoiding confusion.
Maintain Consistent Tone: Guarantee the emotional tone remains steady or gradually evolves. Abrupt tonal changes can jar readers, disrupting their immersion.
Leverage Cliffhangers: End scenes with unresolved tension. This keeps readers engaged and excited to continue, enhancing narrative pacing.
Smooth Character Introduction: Integrate new characters organically. A sudden character dump can overwhelm and confuse, but gradual introductions enrich the storyline.
When you interlace scenes with care, you guide your reader effortlessly through the narrative. Each shift should feel natural, enhancing the story’s rhythm.
Technology’s Role in Transitions

Leveraging modern technology, you can create transformations that aren’t only seamless but also visually and audibly engaging.
Digital software now offers advanced tools to enhance your scene conversions. For instance, AI algorithms can analyze your footage, identifying the perfect moments to cut or blend scenes, ensuring fluidity and coherence.
With digital software like Adobe Premiere Pro or Final Cut Pro, you have access to a plethora of transformation effects.
These programs allow you to fine-tune every aspect of the transformation, from timing to visual effects, without compromising quality. AI algorithms can automatically adjust these settings based on your footage, optimizing the transformation for the best viewer experience.
Moreover, technology enables you to integrate sound seamlessly.
By using audio editing tools, you can match audio levels and apply crossfades, ensuring that changes in scenes aren’t jarring. AI algorithms can even suggest background scores that complement the visual transformation, making the shift feel natural and immersive.
Incorporating these technological advancements into your workflow not only saves time but also elevates the quality of your conversions. By embracing these tools, you can achieve professional-grade scene changes that captivate your audience.
Common Mistakes to Avoid

While technology offers powerful tools to enhance scene changes, overlooking common mistakes can undermine your efforts. Ensuring smooth shifts requires attention to detail and an understanding of potential pitfalls.
- Inconsistent Dialogue Pacing: Rapid shifts in dialogue pacing can jar the audience. Maintain a natural flow to keep viewers engaged. Abrupt changes can break immersion and disrupt the narrative rhythm.
- Character Continuity Errors: Characters must remain consistent across scenes. Sudden changes in behavior or appearance can confuse the audience and weaken character development. Guarantee continuity to maintain believability.
- Ignoring Emotional Beats: Skipping over emotional highs and lows can make your shifts feel mechanical. Pay attention to the emotional journey of your characters and reflect it in scene changes. This connection enhances viewer investment.
- Overusing Visual Effects: While effects can enhance shifts, overuse can lead to distraction. Use them sparingly and purposefully to complement the story rather than overshadow it.
Frequently Asked Questions

How Do You Maintain Audience Engagement During Transitions?
To maintain audience engagement during shifts, use visual cues like lighting changes or sound effects.
Guarantee character continuity by keeping actions and emotions consistent. For example, if a character leaves one scene upset, make sure they enter the next in a similar state.
These techniques create a seamless flow, making shifts feel natural and keeping the audience immersed in the story.
What Are Some Budget-Friendly Tools for Creating Smooth Scene Changes?
Imagine a scene melting seamlessly into the next. You can achieve this with budget-friendly tools like a green screen and seamless shift templates.
A green screen lets you superimpose different backgrounds effortlessly, while seamless shift templates offer ready-made effects to blend scenes smoothly. Both tools are cost-effective and easy to use, ensuring your audience stays captivated without breaking the bank.
Perfect for any creator on a budget!
How Can Music Influence the Perception of Scene Transitions?
Music dramatically influences scene shifts by guiding mood changes and ensuring genre suitability. You can enhance tension with a rising crescendo or evoke tranquility with soft melodies.
The right soundtrack visually complements the shift, making it feel natural and cohesive. For instance, a suspenseful track can make a scene change feel urgent, while a romantic tune can soften the shift, aligning perfectly with the narrative’s emotional flow.
Are There Psychological Effects of Seamless Transitions on Viewers?
Imagine you’re watching a film, completely absorbed. Seamless shifts pull you deeper into the narrative, creating cognitive flow and enhancing viewer immersion. Your brain doesn’t struggle to piece scenes together, making the story more gripping.
This smooth shift keeps your attention locked in, heightening emotional impact and making the experience more memorable. Shifts, when done right, aren’t just technical—they’re psychological tools that captivate you effortlessly.
What Role Does Color Theory Play in Effective Scene Transitions?
Color theory plays a pivotal role in effective scene progressions. By using complementary colors, you can create visual harmony that enhances the viewer’s experience.
These color choices evoke emotional resonance, subtly guiding the audience’s feelings. For instance, progressing from a cool blue scene to a warm orange one can shift the mood from calm to energetic.
This seamless color shift maintains engagement and keeps the narrative flow intact.
Share:
Search our blog:
Follow us on:
