What Are the Best Lighting Techniques for Outdoor Interviews?
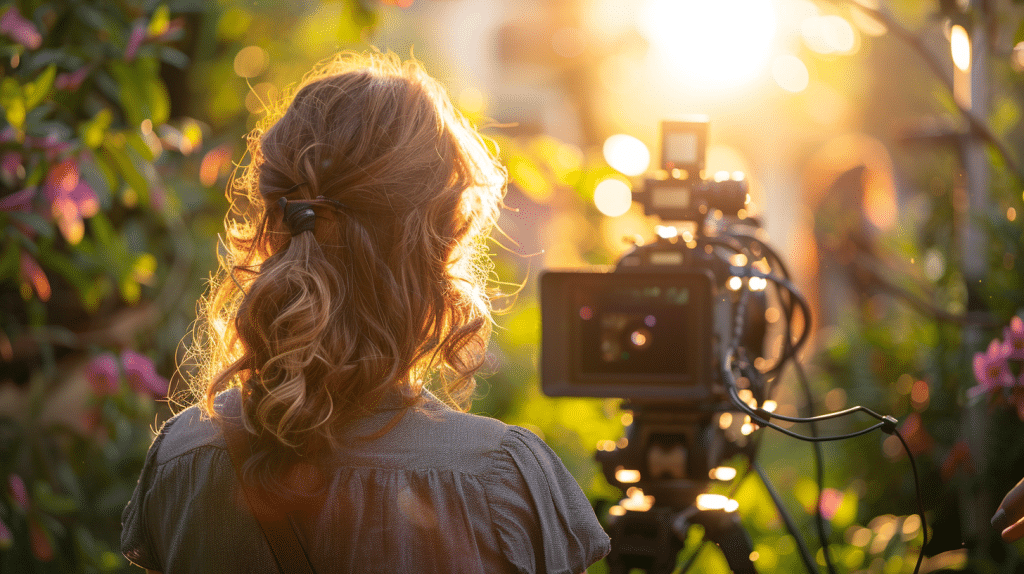
Have you ever pondered how to make your outdoor interviews truly stand out? Well, the secret lies in mastering the art of lighting.
By employing the right lighting techniques, you can transform an ordinary setting into a compelling visual story that engages your audience.
So, let’s delve into the world of lighting strategies for outdoor interviews and discover how you can elevate your production to the next level.
Table of Contents
Utilizing Natural Light
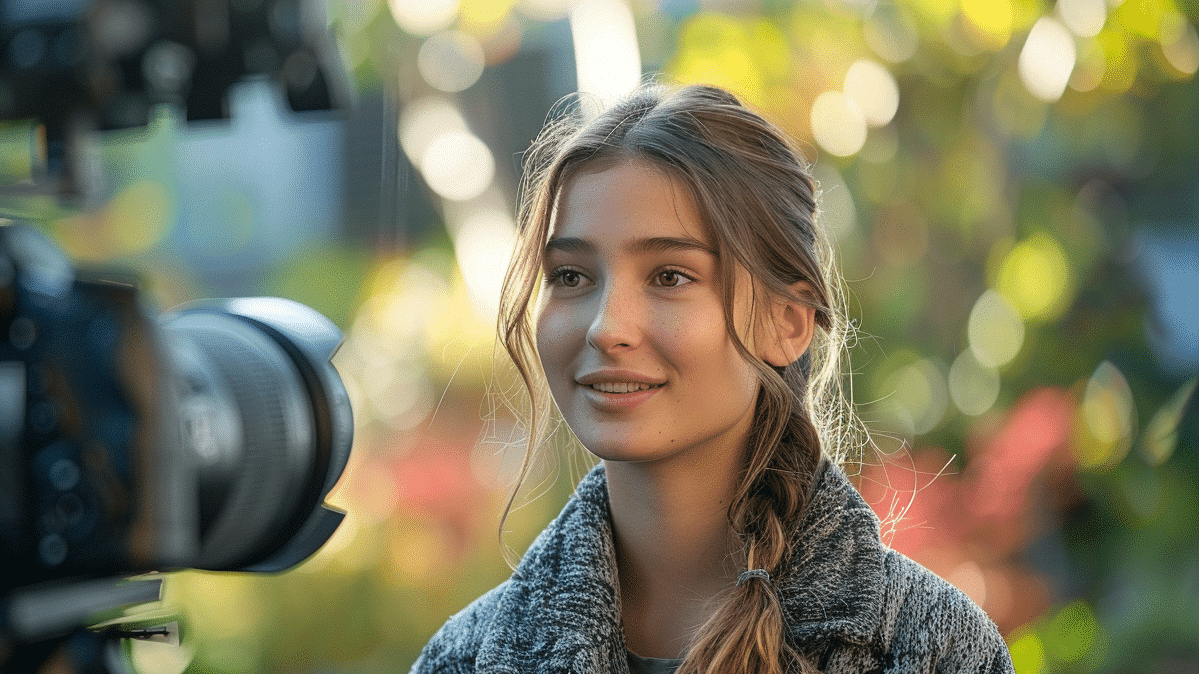
To capture stunning outdoor interview footage, harness the power of natural light for a visually compelling and authentic look.
Position your subject in a way that utilizes the natural light source to highlight their features while creating depth and dimension.
Make sure that the light isn’t too harsh or direct, as this can cause unflattering shadows and overexposure. Instead, look for open shade or use a diffuser to soften the light, resulting in more flattering and even illumination.
Consider the direction of the light to create different moods and effects.
Backlighting can create a halo effect around your subject, adding a touch of drama to the scene. Alternatively, side lighting can emphasize textures and add a sense of depth to the shot.
Experiment with the angle of the light to see how it interacts with your subject and the surrounding environment.
Mastering the Golden Hour
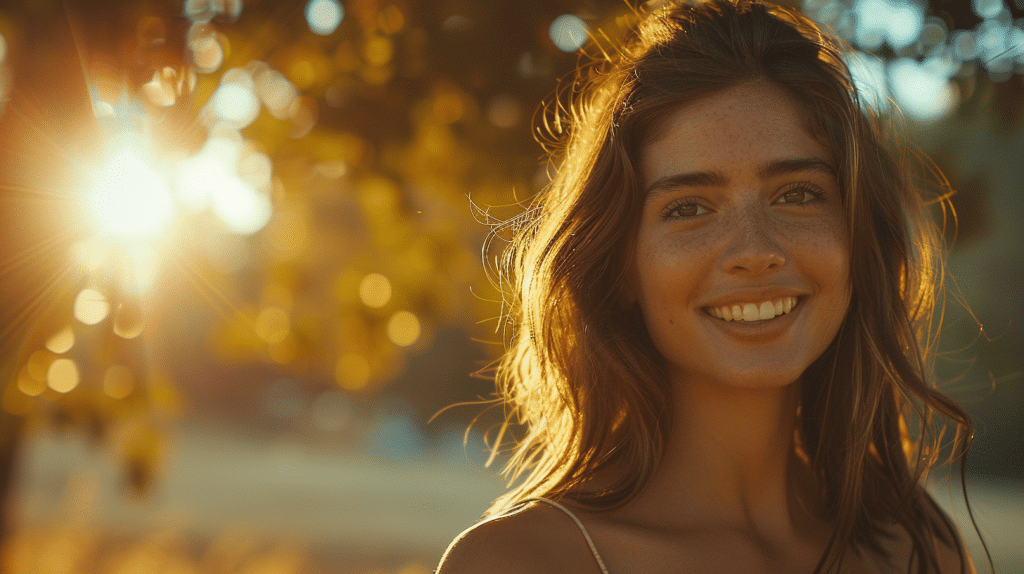
Make the most of the magical hour before sunset by mastering the Golden Hour for enchanting outdoor interview lighting.
During this time, the sun sits low in the sky, casting a warm, soft light that adds a beautiful glow to your subject.
To utilize this golden light effectively, position your subject so that the sunlight hits them at an angle, creating depth and dimension. Avoid harsh shadows by using a reflector or diffuser to gently bounce the light onto your subject.
To capture the full essence of the Golden Hour, adjust your camera settings to a lower aperture for a shallow depth of field, allowing the background to blur slightly and draw focus to your subject.
Keep an eye on your white balance to make sure the warm tones of the sunlight are accurately represented in your footage.
Embrace the natural beauty of this magical hour by incorporating elements of the surrounding environment into your shot.
The Golden Hour offers a unique opportunity to create visually stunning outdoor interview lighting that elevates the overall quality of your content.
Handling Midday Sunlight
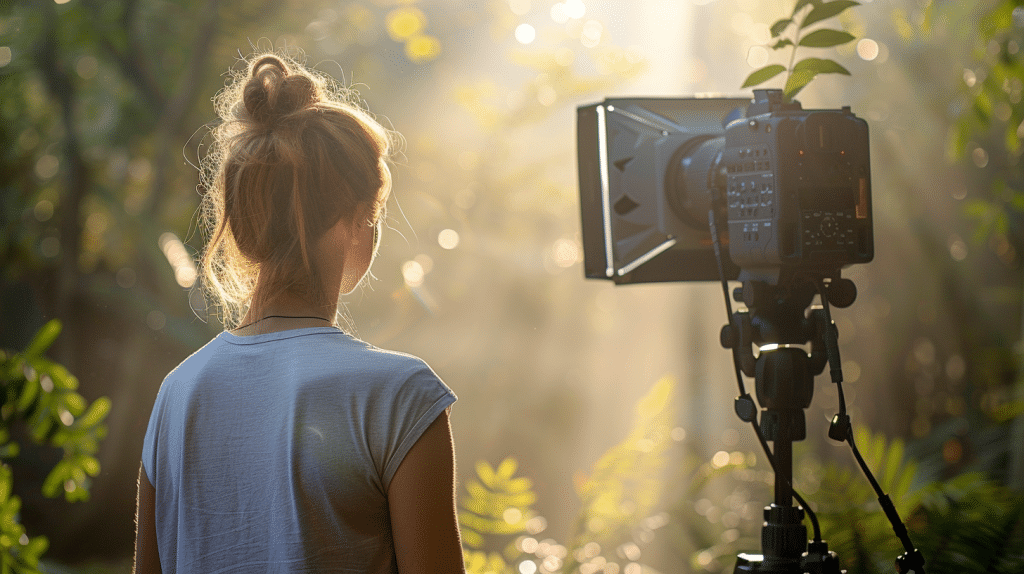
Mastering the harsh midday sunlight demands strategic positioning and creative adjustments to guarantee high-quality outdoor interview lighting.
When the sun is at its peak, you need to be innovative to make sure your subject is well-lit and shadows are minimized.
Here are key techniques to handle midday sunlight effectively:
- Use Diffusion Material: Direct sunlight can create harsh shadows and overexposure. To soften the light, place a diffusion material like a silk or nylon sheet between the sun and your subject. This will help create a more flattering and even lighting effect on your interviewee.
- Adjust Camera Settings: To compensate for the bright midday sun, adjust your camera settings. Consider lowering the ISO, increasing the shutter speed, and possibly using a smaller aperture to balance the exposure and capture the details without overexposing the shot.
- Seek Shade or Create Your Own: Utilize natural shade from trees, buildings, or structures to shield your subject from direct sunlight. If shade is limited, consider using reflectors or artificial shade like umbrellas to control the light and prevent harsh shadows on your subject’s face.
Positioning Your Subject
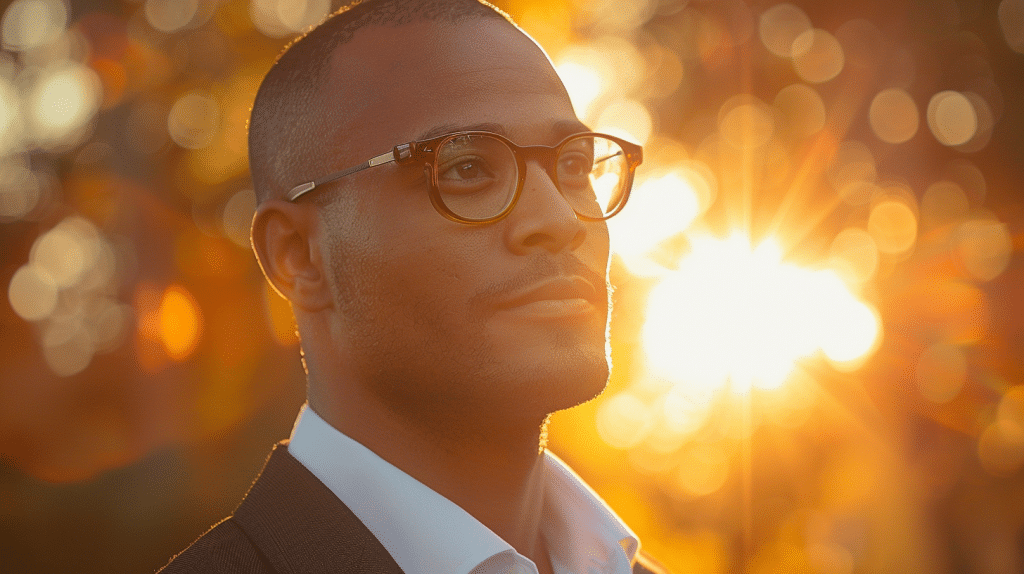
Position your subject strategically to optimize natural lighting and enhance the visual impact of your outdoor interview.
The position of your subject in relation to the sun can greatly impact the quality of your footage.
When shooting outdoors, consider the direction of the sunlight and position your subject so that the light falls evenly on their face. This will help avoid harsh shadows and guarantee a balanced, flattering look.
To make the most of natural light, try positioning your subject with the sun behind them at a slight angle.
This technique, known as backlighting, can create a beautiful rim light around your subject, separating them from the background and adding depth to the shot.
Additionally, positioning your subject in a way that allows soft, diffused light to illuminate their face can result in a more natural and pleasing appearance.
Experiment with different angles and positions to find the most flattering and visually interesting setup for your outdoor interview.
Remember, the way you position your subject can have a significant impact on the overall quality of your footage.
Using Reflectors Effectively
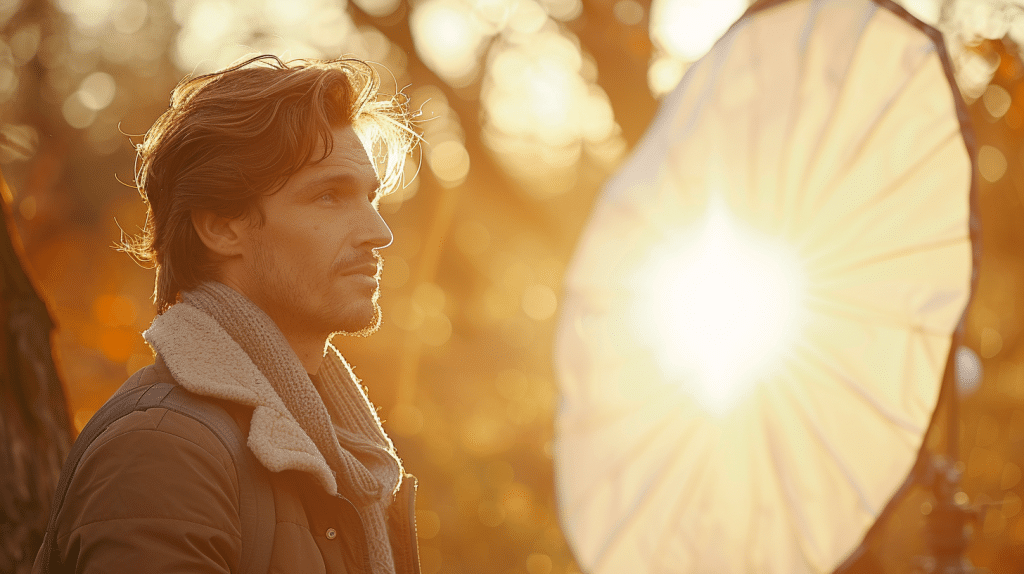
To enhance the lighting in your outdoor interviews, consider utilizing reflectors strategically to maximize the natural light and achieve a professional look.
Reflectors are essential tools that bounce sunlight back onto your subject, filling in shadows and creating a more balanced and flattering illumination. Here are three key tips for using reflectors effectively:
- Positioning: Place the reflector opposite the main light source, whether it’s the sun or artificial lighting, to bounce light onto the subject’s face. Adjust the angle of the reflector to control the intensity and direction of the reflected light.
- Size and Color: Choose the appropriate size and color of the reflector based on the lighting conditions and the desired effect. Larger reflectors provide softer light, while silver reflectors deliver more intense reflections.
- Assistant: If possible, have someone hold the reflector for you to make sure it stays in the right position throughout the interview, allowing you to focus on framing and capturing the best shots.
Choosing the Right Diffusers
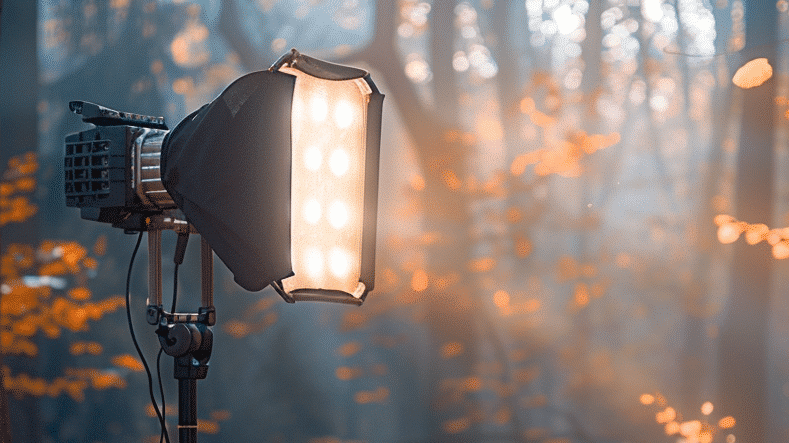
When enhancing outdoor interview lighting, selecting the appropriate diffusers is essential for achieving the best results.
Diffusers are vital tools that help soften harsh sunlight or artificial light sources, creating a more flattering and natural look for your subject. There are various types of diffusers available, each serving a specific purpose in outdoor lighting setups.
One popular choice is the softbox diffuser, which attaches to your light source to produce a gentle, even light that reduces harsh shadows.
Another option is the translucent reflector, which can be held between the light source and the subject to diffuse and soften the light.
Additionally, silk or nylon diffusion materials can be used to create a similar effect by spreading the light more evenly.
Choosing the right diffuser depends on factors like the intensity of sunlight, the desired level of softness, and the size of the light source.
Experimenting with different types of diffusers will help you find the best match for your outdoor interview lighting needs, ultimately enhancing the visual quality of your footage.
Incorporating Artificial Lights
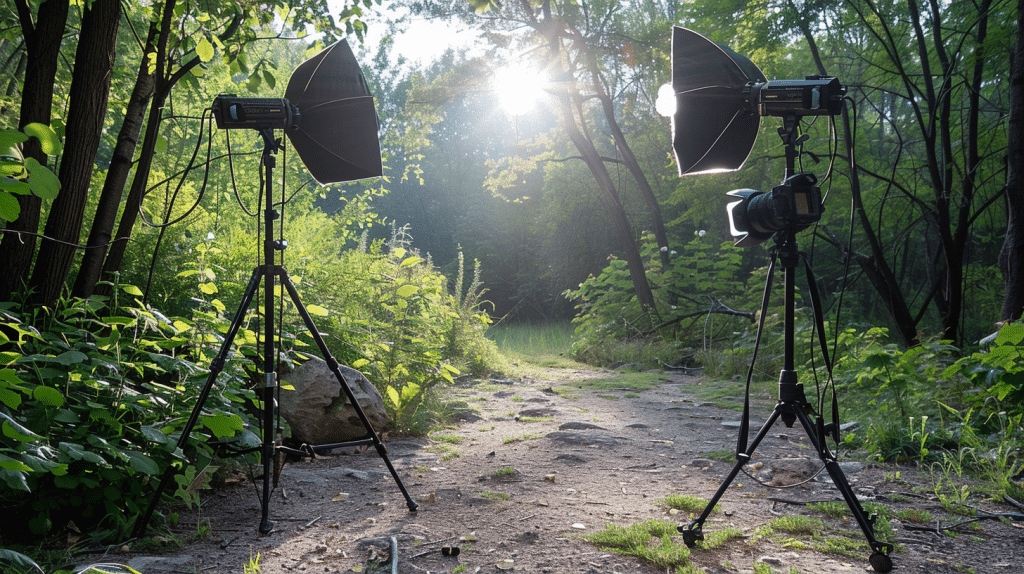
For ideal outdoor interview lighting, consider integrating artificial lights strategically to enhance the visual quality of your footage.
When incorporating artificial lights into your outdoor interview setup, there are several key techniques to keep in mind:
- Key Light Placement: Position your key light to illuminate the subject’s face evenly and provide a natural look. Place the light at a 45-degree angle to the side of the subject to create depth and dimension.
- Fill Light for Shadows: Use a fill light to soften harsh shadows created by the key light. This light should be less intense than the key light and placed opposite the key light to fill in shadows on the subject’s face.
- Backlighting for Separation: Incorporate a backlight behind the subject to create separation and depth. This light helps outline the subject and adds a professional touch to your outdoor interview setup.
Balancing Shadows and Highlights
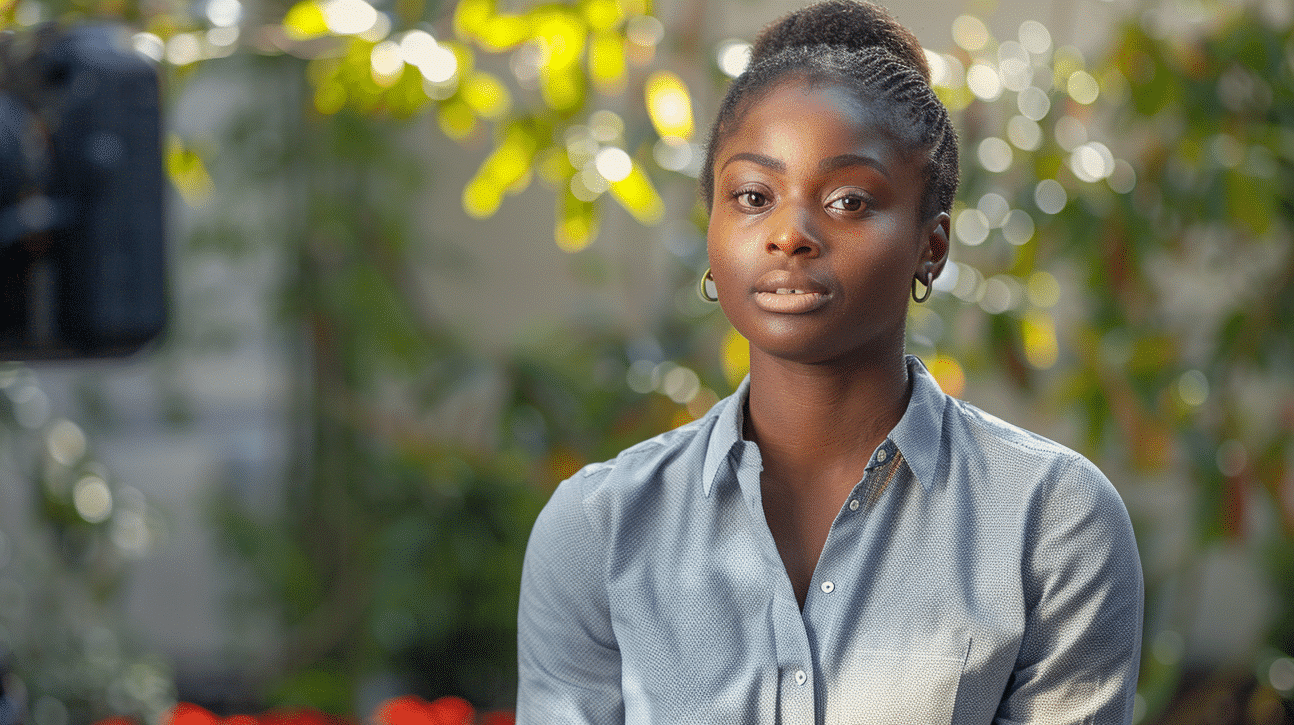
Balance the interplay between shadows and highlights to achieve a visually striking outdoor interview setup.
When setting up your lighting for an outdoor interview, consider the position of the sun and how it affects the shadows on your subject’s face.
To balance these shadows, you can use reflectors to bounce light back onto the face, filling in the darker areas and creating a more even complexion. Additionally, using diffusers can help soften harsh sunlight, reducing the intensity of highlights and creating a more appealing look.
Experiment with the angle of your light source to find the perfect balance between shadows and highlights. By adjusting the position of your lights, you can control the direction and intensity of the shadows, adding depth and dimension to your shot.
Keep in mind that balancing shadows and highlights is essential for creating a professional and polished look in your outdoor interviews.
With the right techniques, you can achieve a visually appealing setup that enhances your subject’s features and creates an engaging visual narrative.
Selecting Backgrounds Wisely
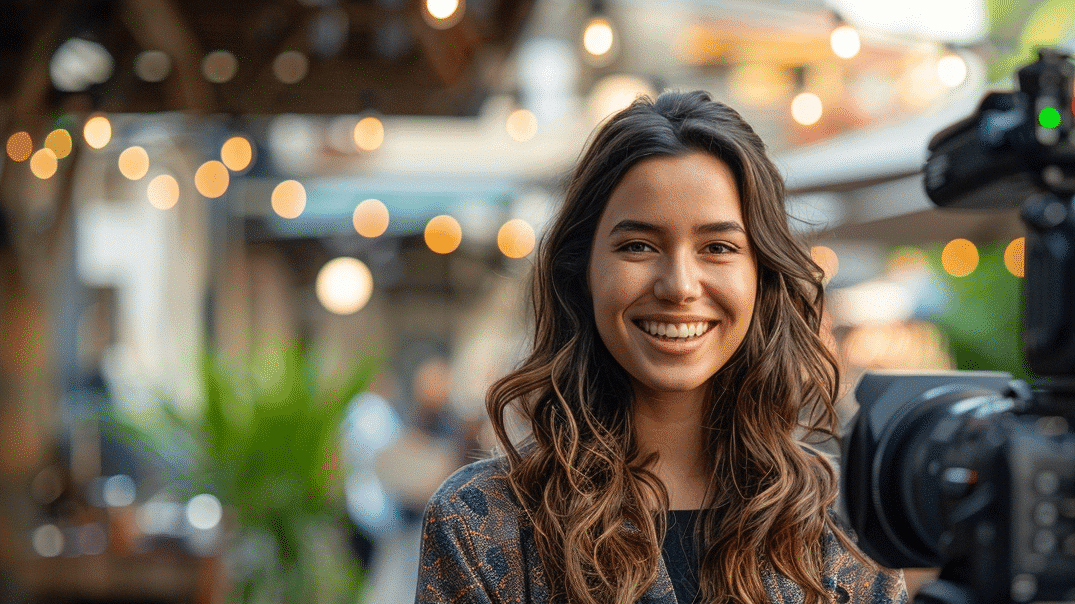
Opt for backgrounds strategically to enhance the visual impact of your outdoor interviews. The background you choose can have a notable effect on the overall look and feel of your interview footage.
Here are three key points to bear in mind when selecting backgrounds for outdoor interviews:
- Depth and Texture: Choose backgrounds that add depth and texture to your shots. Avoid plain and flat backgrounds that may appear dull on camera. Opt for backgrounds with interesting textures or patterns that can add visual interest to your interview footage.
- Relevance to the Subject: Select backgrounds that are pertinent to the subject of your interview. Consider locations that help tell the story or convey the message you want to communicate. For example, if you’re interviewing a chef, a kitchen or a restaurant setting could be ideal.
- Lighting Considerations: Pay attention to how the background interacts with the natural light in your outdoor location. Avoid backgrounds that are too bright or too dark, as this can create exposure issues. Look for backgrounds that complement the lighting conditions and enhance the overall visual appeal of your interviews.
Adapting to Weather Changes
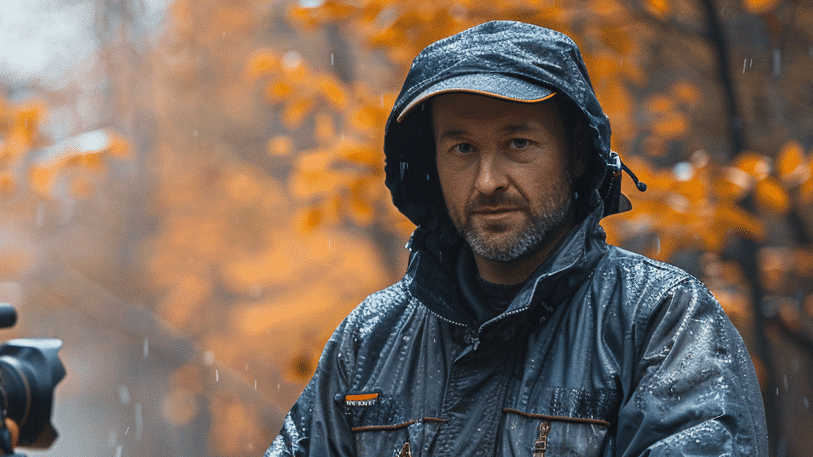
Choose backgrounds that can withstand sudden weather changes, guaranteeing your outdoor interviews maintain their visual impact regardless of the elements.
When preparing for outdoor interviews, it’s vital to have a backup plan for unexpected weather shifts. Opt for locations with natural features like sturdy trees or rock formations that can provide shelter or add visual interest to your shots.
Additionally, consider using portable shelters or umbrellas to protect your equipment and subjects from rain or harsh sunlight.
To adapt to changing weather conditions, have diffusers and reflectors on hand to control harsh lighting or shadows caused by the sun. These tools can help you maintain a consistent look throughout the interview and ensure your subjects are well-lit and comfortable.
Keep an eye on the weather forecast and be prepared to make quick adjustments to your setup if needed.
Frequently Asked Questions
How can I effectively use natural light for outdoor interviews?
Utilizing natural light is key to achieving visually compelling outdoor interviews.
Position your subject to take advantage of the natural light source, ensuring it highlights their features while creating depth. Avoid direct sunlight as it can cause harsh shadows and overexposure.
Instead, look for open shade or use a diffuser to soften the light. Experiment with different light angles such as backlighting for a dramatic halo effect or side lighting to emphasize textures and depth.
What is the Golden Hour, and how can I use it for outdoor interviews?
The Golden Hour refers to the hour before sunset when the sun casts a warm, soft light, creating a beautiful glow.
To utilize this light effectively, position your subject so the sunlight hits them at an angle, creating depth and dimension. Use reflectors or diffusers to avoid harsh shadows.
Adjust your camera settings to a lower aperture for a shallow depth of field, which blurs the background and focuses on your subject. Keep an eye on the white balance to capture the warm tones accurately.
How do I handle harsh midday sunlight during outdoor interviews?
Mastering midday sunlight requires strategic positioning and creative adjustments.
Use diffusion material like silk or nylon sheets to soften direct sunlight and minimize harsh shadows.
Adjust your camera settings by lowering the ISO, increasing shutter speed, and using a smaller aperture.
Seek natural shade from trees or buildings, or create artificial shade with reflectors or umbrellas.
These techniques help in balancing exposure and maintaining a flattering look for your subject.
What role do reflectors play in outdoor interview lighting, and how should I use them?
Reflectors are essential tools in outdoor interview lighting, used to bounce sunlight back onto your subject and fill in shadows.
Position the reflector opposite the main light source to control the intensity and direction of the reflected light. Choose the appropriate size and color of the reflector based on the lighting conditions.
Larger reflectors provide softer light, while silver reflectors deliver more intense reflections. An assistant holding the reflector ensures it stays in the right position, allowing you to focus on capturing the best shots.
How can I adapt to weather changes during outdoor interviews?
Adapting to weather changes involves selecting backgrounds and equipment that can withstand sudden shifts in conditions.
Choose locations with natural features like sturdy trees or rock formations for shelter. Use portable shelters or umbrellas to protect equipment and subjects from rain or harsh sunlight.
Keep diffusers and reflectors on hand to control lighting or shadows. Always check the weather forecast and be prepared to make quick adjustments to your setup to maintain the visual impact of your outdoor interviews.
Share:
Search our blog:
Follow us on:
