DIY Video Lighting Hacks: How to Light Like a Pro at Home
Our Fall/Winter intern project at Skillman Video Group (SVG) was a fun and informative “How-To” series focused on DIY video shoots.
We broke it down into two videos, tackling lighting and audio separately.
The lighting video, which we’ll delve into here, aimed to empower aspiring videographers with easy-to-follow tips for achieving professional-looking results at home.
Table of Contents
The Set: A Cozy Holiday Vibe
For our lighting demonstration, we chose a suburban living room adorned with festive Christmas decorations.
This not only added a touch of warmth and personality to the set but also provided a subtle visual cue to viewers about the time of year the video was filmed.
DIY Lighting Equipment: Resourceful Repurposing
Finding the right lighting equipment involved a bit of creativity and resourcefulness. We scoured the house for moveable lights that could be easily directed.
Our treasure trove included two painter lights – those large silver lights with clamps – and a drop light, often used to illuminate workspaces. These three lights would form the backbone of our three-point lighting setup.
The Art of Diffusion: Softening the Light
Diffusion is a key element in achieving a professional look, as it helps to soften harsh light and create a more flattering effect on your subject.
While professional video production companies often use specialized diffusion sheets, we opted for a DIY solution: a plain white t-shirt.
We simply draped it over our key light, instantly transforming the harsh beam into a softer, more diffused glow.
Taming Natural Light: A DIY Approach

Natural light can be a videographer’s best friend or worst enemy. While it can provide beautiful illumination, it can also be harsh and unpredictable.
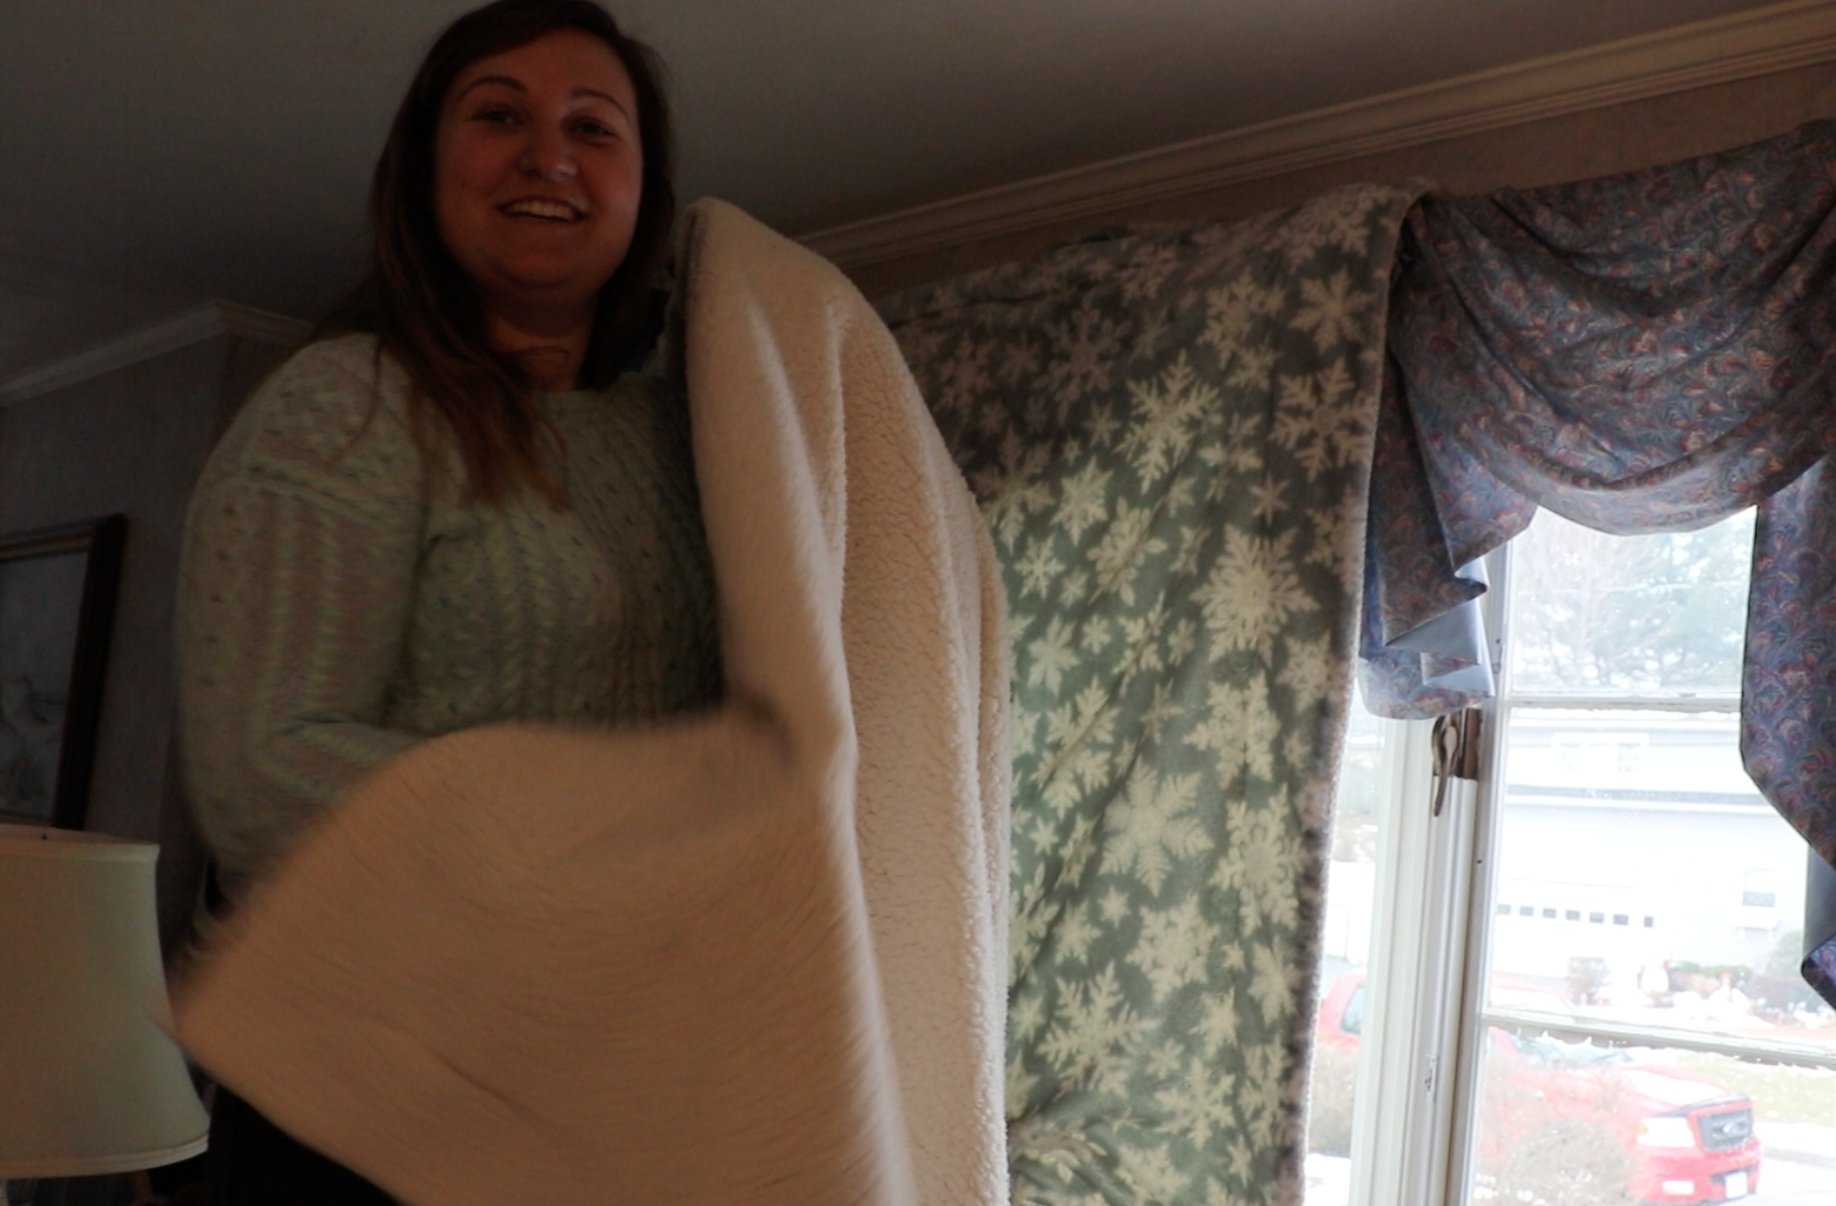
To control the natural light streaming through the windows, we employed a simple yet effective DIY technique: covering the windows with blankets and trash bags.
This allowed us to block out unwanted light and create a more controlled lighting environment.
Setting the Stage for Success: Tips and Tricks
Setting up your lights requires careful consideration. We emphasized the importance of securing the lights to prevent accidents and ensuring that they are plugged in correctly.
To avoid overloading electrical outlets, we recommended plugging only one light into each outlet. We even used packing tape to secure one of the lights to a chair, demonstrating the resourcefulness required in a DIY setting.
Share:
Search our blog:
Follow us on:
