Crafting Cinematic Shots: Expert Lighting Techniques Unveiled for Captivating Visuals
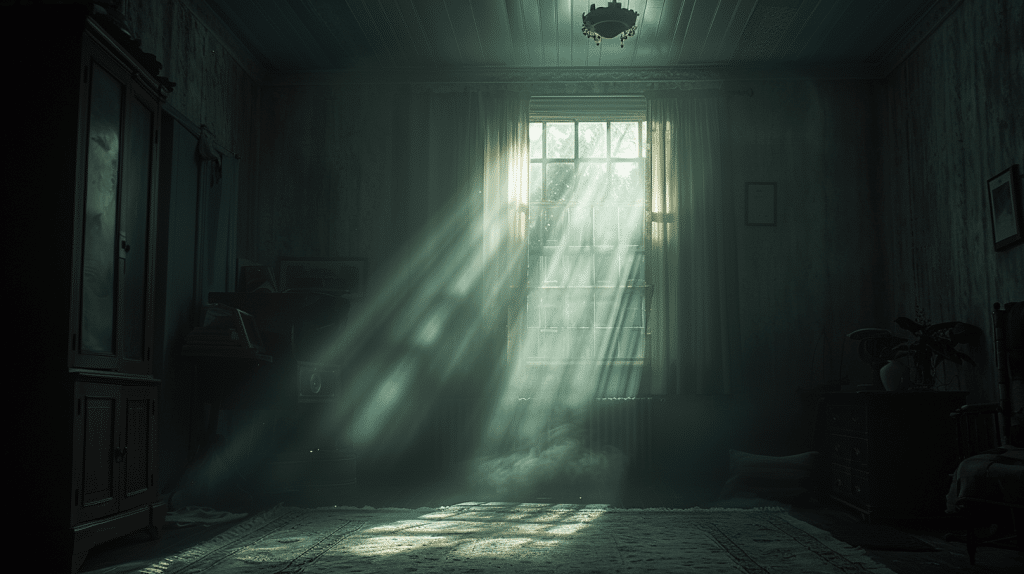
Master the art of crafting cinematic shots by revealing expert lighting techniques that not only illuminate your scenes but also shape the mood, depth, and emotion of your visuals in ways you might not have explored before.
Utilize shadows strategically for powerful compositions, work with your team to experiment with natural light and fill light to add authenticity and depth, and play with color temperature and lighting effects to evoke different emotions.
Collaborate closely for cinematic flares and blooms, and master light angles to enhance your cinematography skills.
These techniques are just the start of creating visually engaging scenes that captivate your audience.
Table of Contents
Mastering the Use of Shadows

To accomplish cinematic shots that captivate your audience, expertly utilizing shadows is vital to creating depth and drama in your lighting composition.
Shadows aren’t just the absence of light; they’re powerful tools that can add layers of complexity to your visuals. By strategically placing lights and manipulating shadows, you can evoke emotions and guide the viewer’s focus.
Understanding the direction of light is essential to shadow mastery. Experiment with different angles and intensities to see how shadows fall on your subject. Soft shadows can create a gentle, dreamy atmosphere, while harsh shadows can add tension and mystery.
Collaboration with your team is key to utilizing shadows effectively. Communicate with your cinematographer and gaffer to make sure that the lighting setup complements the desired mood of the scene.
By working together, you can create stunning visuals that immerse your audience in the story. Mastering the use of shadows will elevate your cinematography to new heights, leaving a lasting impact on your viewers.
Creating Depth With Backlighting
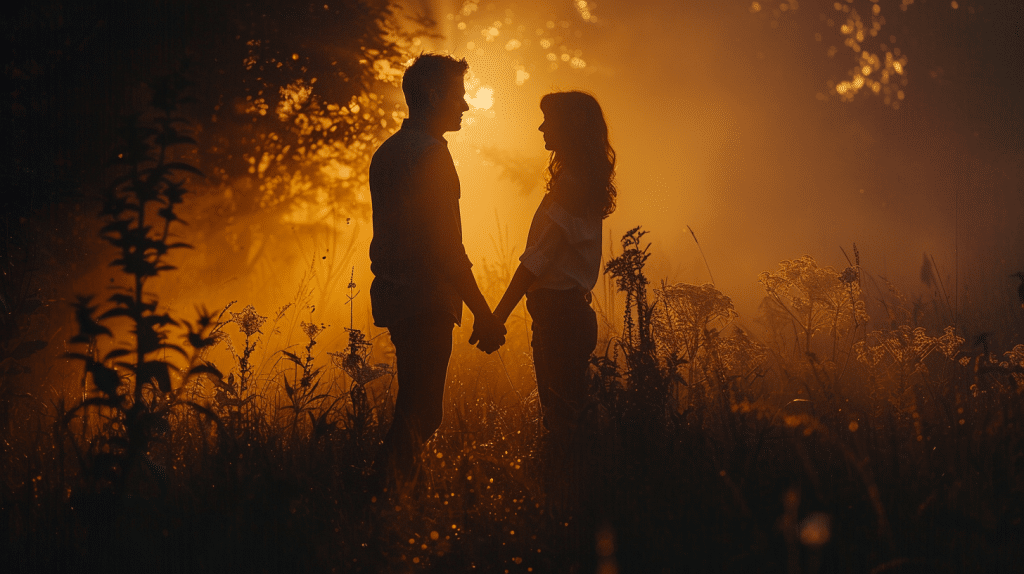
Harness the power of backlighting to infuse your cinematic shots with depth and dimension, taking your visual storytelling to new heights.
Backlighting involves placing a light source behind your subject, creating a glowing outline that separates them from the background. This technique adds a sense of depth to your shots, making them more visually engaging.
To create depth with backlighting, position your light source strategically behind your subject. This can help create a separation between the subject and the background, adding layers to your composition.
Experiment with different angles and intensities of light to achieve the desired effect. By mastering backlighting, you can add a three-dimensional quality to your shots, making them more dynamic and enthralling.
Collaborating with your team is vital when using backlighting. Communicate your vision to your lighting crew and work together to achieve the desired look.
By combining technical expertise with creative input, you can elevate your visual storytelling and create cinematic shots that truly stand out.
Harnessing the Power of Natural Light
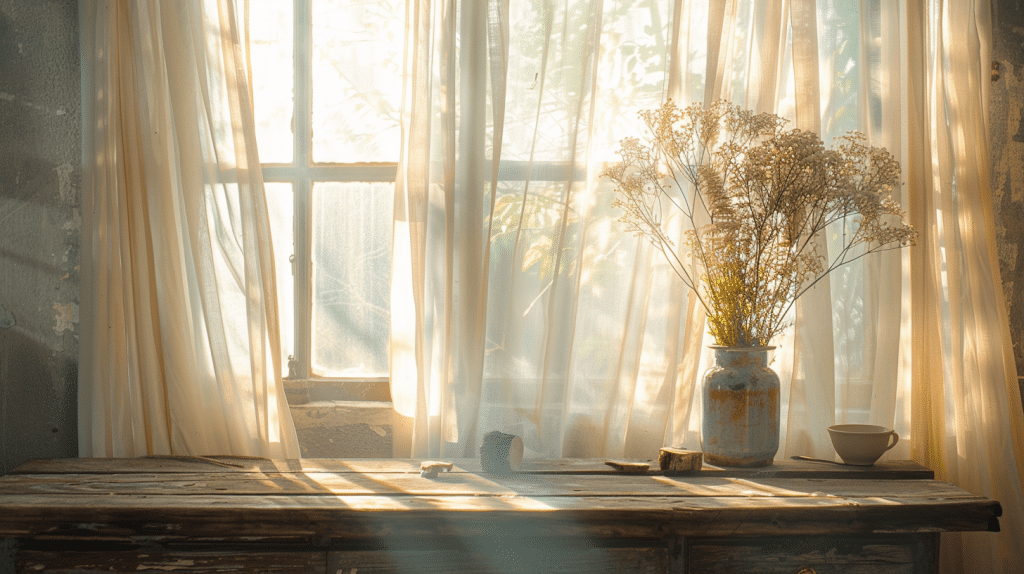
Enhance your cinematic shots with a mesmerizing allure by skillfully utilizing the natural light available to you. Natural light can be a powerful tool in your cinematography arsenal, providing a sense of authenticity and depth to your shots.
When harnessing natural light, consider the quality of light at different times of the day. The golden hour, just after sunrise or before sunset, offers soft, warm light that can create a magical atmosphere in your scenes.
To make the most of natural light, strategically position your subjects to take advantage of the light’s direction and intensity.
Collaborate with your team to plan your shots around the natural light available, adjusting the composition and camera angles to capture the desired mood and emotion.
Utilize reflective surfaces or diffusion materials to control harsh shadows and create a more flattering light on your subjects.
By mastering the art of harnessing natural light, you can elevate the visual storytelling of your films and captivate your audience with stunning cinematography.
Enhancing Details With Fill Light
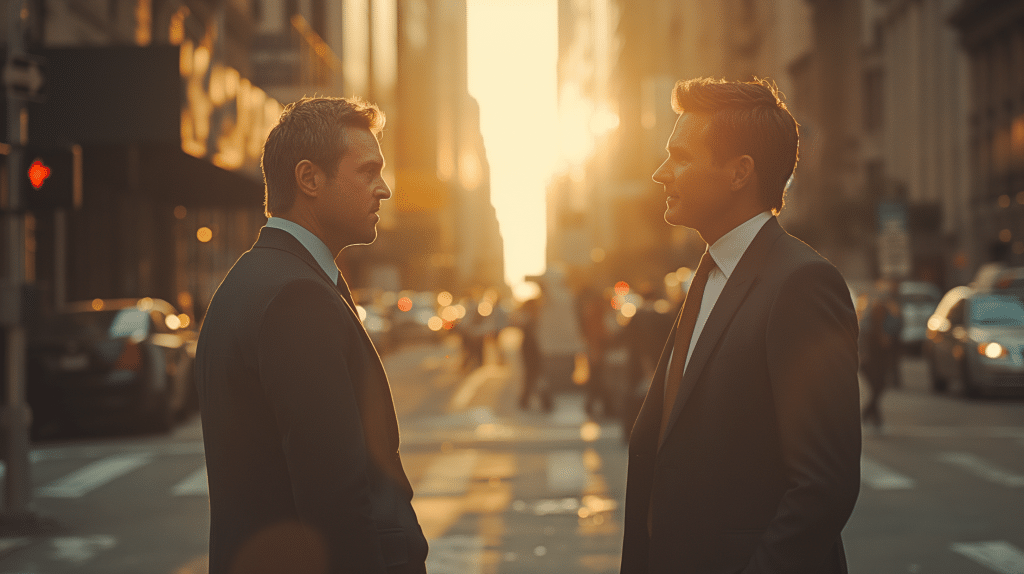
Position your fill light strategically to enhance the intricate details of your cinematic shots and add depth to your visual narrative.
By strategically placing this additional light source, you can fill in shadows and create a more balanced, dynamic image. When using fill light, consider the angle and intensity to avoid overpowering the scene while still bringing out the essential details.
To enhance details effectively, collaborate with your team to make sure the fill light complements the existing lighting setup.
By working together, you can achieve a harmonious blend of light that highlights textures and nuances within the frame.
Experiment with different fill light positions to see how they interact with the main light source and shape the overall mood of your shot.
Setting the Scene With Color Temperature
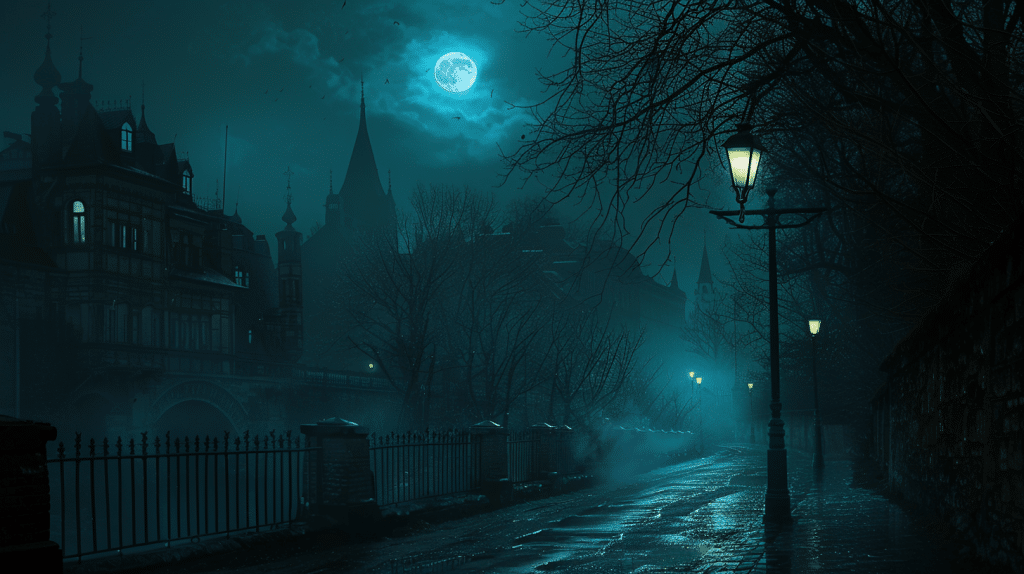
When setting the scene with color temperature, consider how different tones can evoke specific moods and enhance the overall visual narrative of your cinematic shots.
Warm colors like reds and oranges create a cozy and inviting atmosphere, perfect for romantic or intimate scenes.
On the other hand, cool tones such as blues and greens can convey a sense of calmness or isolation, making them ideal for reflective or melancholic moments in your film.
Understanding color temperature is essential for creating the desired emotional impact in your shots.
By adjusting the temperature of your lighting, you can transform the mood of a scene entirely. For instance, using warmer tones in a sunset scene can intensify the feeling of nostalgia or longing, while cooler tones in a nighttime setting might enhance the sense of mystery or suspense.
Collaborating with your team to experiment with different color temperatures can lead to striking visual compositions that elevate the storytelling in your film.
By mastering the art of setting the scene with color temperature, you can craft cinematic shots that resonate with audiences on a deeper level.
Sculpting Subjects With Key Light

To give your cinematic shots depth and dimension, skillfully use the key light to sculpt your subjects, defining their features and creating visual interest.
The key light, positioned at a specific angle to the subject, helps to shape their face, highlight textures, and establish a focal point within the frame.
By adjusting the intensity, direction, and quality of the key light, you can emphasize certain facial features, evoke different emotions, and guide the viewer’s gaze to where you want it to go.
When sculpting subjects with the key light, consider the mood and atmosphere you want to convey. Soft lighting can create a gentle, flattering effect, while harsh lighting can add drama and intensity.
Collaborate with your team to experiment with various key light placements and modifiers to achieve the desired look.
Remember that the key light not only illuminates the subject but also plays a pivotal role in shaping their presence within the scene.
Mastering the art of sculpting subjects with the key light will elevate the visual impact of your cinematic shots.
Achieving Visual Balance With Rim Light
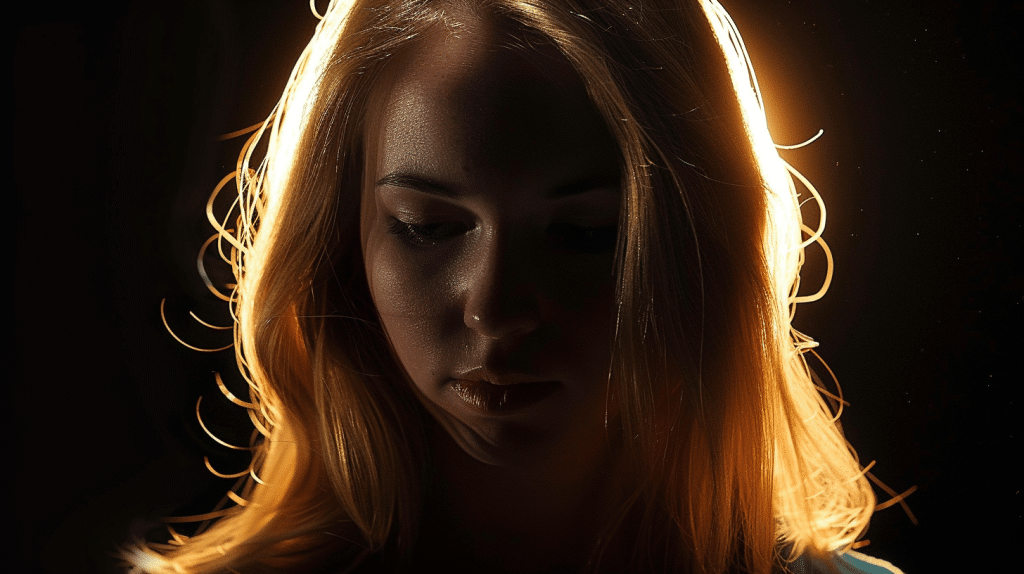
For a striking visual composition that enhances depth and adds a cinematic flair to your shots, consider incorporating a rim light to achieve a balanced and engaging visual aesthetic.
A rim light, placed behind your subject, helps separate them from the background, creating a subtle outline that adds depth and dimension to your shot. By using a rim light effectively, you can achieve a visual balance that draws the viewer’s eye to the subject while adding a touch of drama to your composition.
To achieve the best results with a rim light, it’s important to position it strategically to avoid overpowering the scene. Collaborate with your team to make sure the light is placed just right, enhancing the contours of your subject without casting distracting shadows.
By working together to fine-tune the placement and intensity of the rim light, you can craft visually stunning shots that captivate your audience and elevate the overall cinematic quality of your work.
Emphasizing Texture With Soft Light

Consider using soft light to beautifully enhance texture in your shots, creating a visually engaging and tactile experience for your audience.
Soft light is a powerful tool that can help you bring out the intricate details and surfaces in your scene.
Here are some expert tips to master the art of emphasizing texture with soft light:
- Diffusion Materials: Experiment with different diffusion materials like silk or nylon in front of your light source to create a soft, even spread of light that gently wraps around textures.
- Light Angles: Play around with the angles of your soft light to find the best position that highlights the textures you want to emphasize while creating subtle shadows for depth.
- Distance Control: Adjust the distance between your light source and the subject to control the softness of the light falling on textures, allowing you to achieve the desired level of detail.
- Multiple Light Sources: Combine multiple soft light sources to add layers of texture and depth to your shots, creating a rich visual tapestry that captivates the viewer.
Crafting Cinematic Flares and Blooms
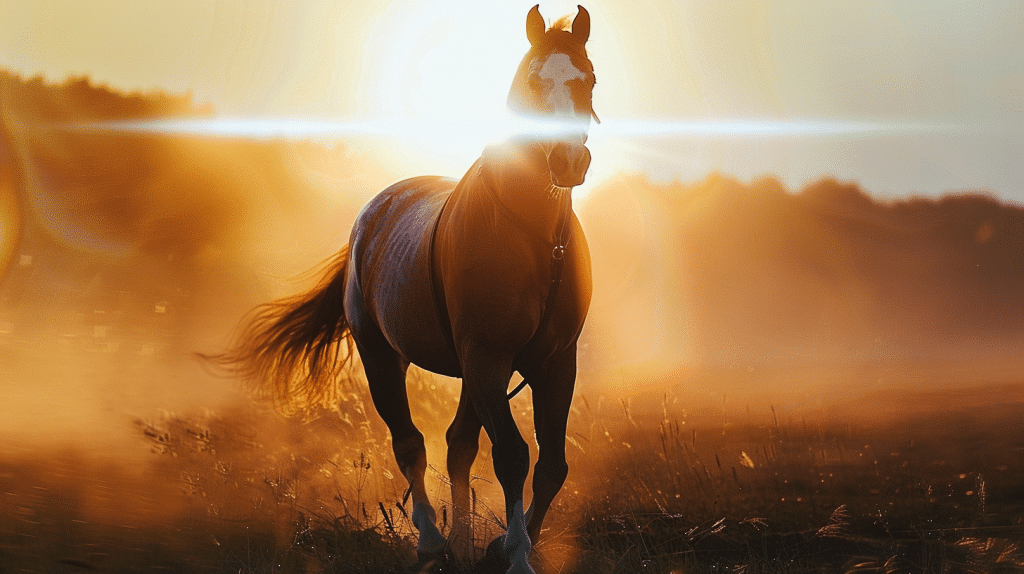
Craft cinematic flares and blooms by strategically positioning your light sources to evoke a mesmerizing visual aesthetic.
To create cinematic flares, place your light source slightly outside the frame, allowing its rays to hit the camera lens at an angle. This technique produces a dreamy, ethereal effect that adds depth and drama to your shots. Experiment with different intensities and colors to achieve the desired mood.
For cinematic blooms, consider utilizing a larger, softer light source positioned behind your subject. This setup will create a gentle halo effect around the edges, giving your scene a soft and romantic feel.
Adjust the distance and intensity of the light to control the size and brightness of the bloom. Blooms work particularly well in intimate or emotional moments, adding a touch of magic to your storytelling.
Collaborate with your team to make sure that the lighting complements the overall mood and narrative of your scene.
By mastering the art of crafting cinematic flares and blooms, you can elevate the visual appeal of your shots and create memorable cinematic moments.
Experimenting With Light Angles
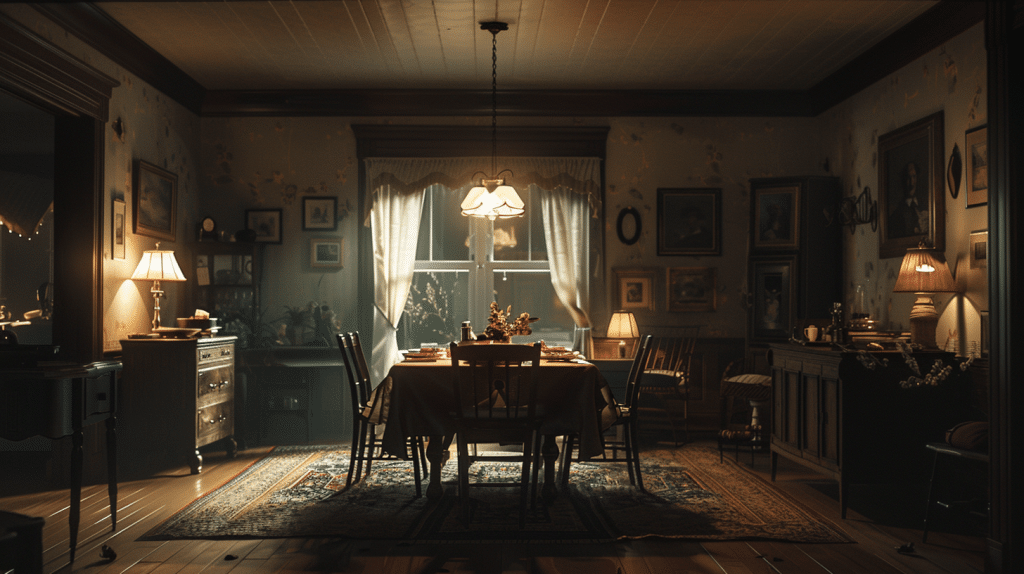
Experimenting with different light angles can drastically transform the mood and visual impact of your shots, enhancing the storytelling and cinematic quality of your work.
By mastering the manipulation of light angles, you can create visually stunning scenes that captivate your audience.
Here are some key tips to help you experiment effectively:
- Top Lighting: Casting light from above can create a sense of drama and intensity, ideal for highlighting emotions or important moments in your narrative.
- Side Lighting: This technique can add depth and dimension to your shots, creating interesting shadows and textures that enhance the visual interest of your scene.
- Backlighting: Placing the light behind your subject can create a striking silhouette effect, perfect for adding mystery or emphasizing the outline of objects.
- Low Angle Lighting: Illuminating your scene from a low angle can produce a dynamic and powerful look, often used to evoke a sense of grandeur or dominance in your visuals.
Mastering these light angles will elevate your cinematography skills and bring a new level of artistry to your filmmaking endeavors.
Frequently Asked Questions
How can shadows be effectively used in cinematic shots?
Shadows are powerful tools in cinematic shots, adding depth and drama to lighting compositions.
By strategically placing lights and manipulating shadows, filmmakers can evoke emotions and guide viewers’ focus. Understanding the direction of light is essential for mastering shadows.
Soft shadows create a gentle, dreamy atmosphere, while harsh shadows add tension and mystery. Collaboration with the cinematographer and gaffer ensures that the lighting setup complements the desired mood of the scene.
Mastering shadow use elevates cinematography, creating stunning visuals that leave a lasting impact on the audience.
What is backlighting, and how does it enhance depth in cinematic shots?
Backlighting involves placing a light source behind the subject, creating a glowing outline that separates them from the background.
This technique adds depth and dimension, making shots more visually engaging. To achieve effective backlighting, position the light source strategically behind the subject and experiment with different angles and intensities.
Collaboration with the lighting crew ensures the desired look is achieved.
By mastering backlighting, filmmakers can add a three-dimensional quality to their shots, enhancing the overall visual storytelling and making the scenes more dynamic and enthralling.
How can natural light be harnessed for cinematic shots?
Natural light provides authenticity and depth to cinematic shots.
The quality of light varies at different times of the day, with the golden hour offering soft, warm light that creates a magical atmosphere. To harness natural light effectively, position subjects to take advantage of the light’s direction and intensity.
Reflective surfaces or diffusion materials can control harsh shadows and create flattering light on subjects. Planning shots around natural light and collaborating with the team ensures the desired mood and emotion are captured.
Mastering natural light elevates visual storytelling, resulting in stunning cinematography.
Why is color temperature important in cinematic lighting?
Color temperature significantly impacts the mood and emotional tone of cinematic shots.
Warm colors like reds and oranges create a cozy, inviting atmosphere, ideal for romantic or intimate scenes. Cool tones such as blues and greens convey calmness or isolation, perfect for reflective or melancholic moments.
Adjusting color temperature can transform a scene’s mood entirely, enhancing the storytelling. Collaborating with the lighting team to experiment with different color temperatures leads to striking visual compositions.
Mastering color temperature helps craft cinematic shots that resonate deeply with audiences, enhancing the overall narrative.
What role does the key light play in sculpting subjects in cinematic shots?
The key light is essential for sculpting subjects, defining their features, and creating visual interest.
Positioned at a specific angle, it shapes the subject’s face, highlights textures, and establishes a focal point within the frame. Adjusting the intensity, direction, and quality of the key light can emphasize facial features, evoke emotions, and guide the viewer’s gaze.
Soft lighting creates a gentle effect, while harsh lighting adds drama. Collaborating with the team to experiment with key light placements and modifiers ensures the desired look.
Mastering the key light enhances the visual impact of cinematic shots, making them more compelling.
Share:
Search our blog:
Follow us on:
