What is the Top Lighting Gear for Indoor Video Shoots?
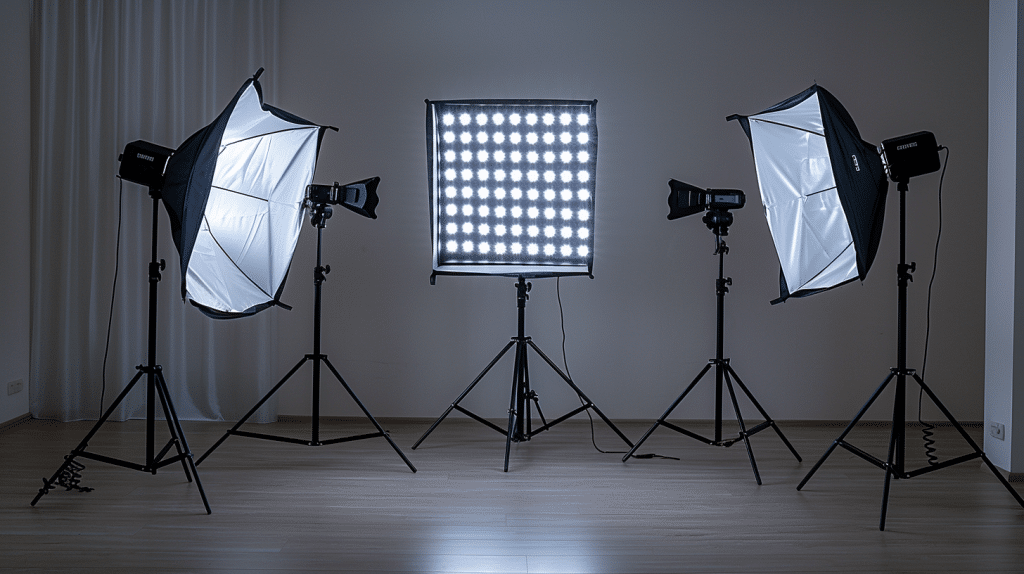
When setting up for indoor video shoots, the right lighting gear is essential to achieving professional results.
LED panels, ring lights, softboxes, and Fresnel lights are just a few options that can elevate the quality of your footage.
But have you considered how each of these tools can impact the mood and atmosphere of your videos?
Understanding the nuances of lighting gear and how to use them effectively can truly transform your indoor video shoots.
Explore further to discover how the right lighting choices can take your videos to the next level.
Table of Contents
Understanding Key Lighting Principles
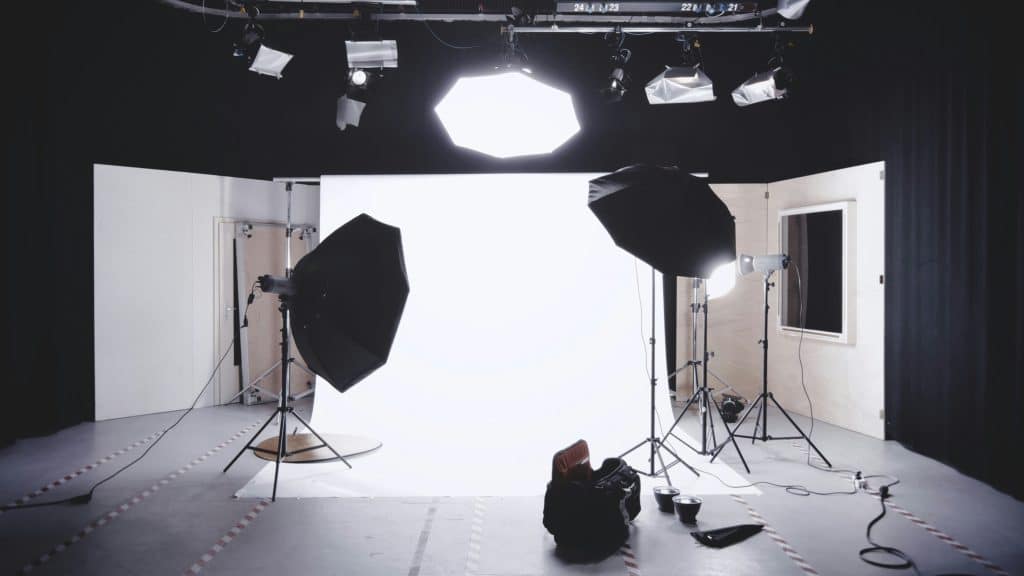
To master indoor video lighting, you must grasp the fundamental principles of key lighting that illuminates your subject effectively.
Key lighting serves as the primary source of light, highlighting the subject and setting the overall mood of your video.
By positioning the key light at a 45-degree angle to the subject, you create depth and dimension, enhancing the visual appeal of your footage. Adjusting the distance and intensity of the key light allows you to control the brightness and shadows on your subject, ensuring a balanced and professional look.
Understanding the color temperature of your key light is essential for achieving the desired mood in your indoor videos. Cooler temperatures create a more sterile and modern feel, while warmer temperatures evoke a cozy and inviting atmosphere.
Experimenting with different color temperatures can help you convey the emotions you want to express in your video content.
LED Panels for Versatile Illumination
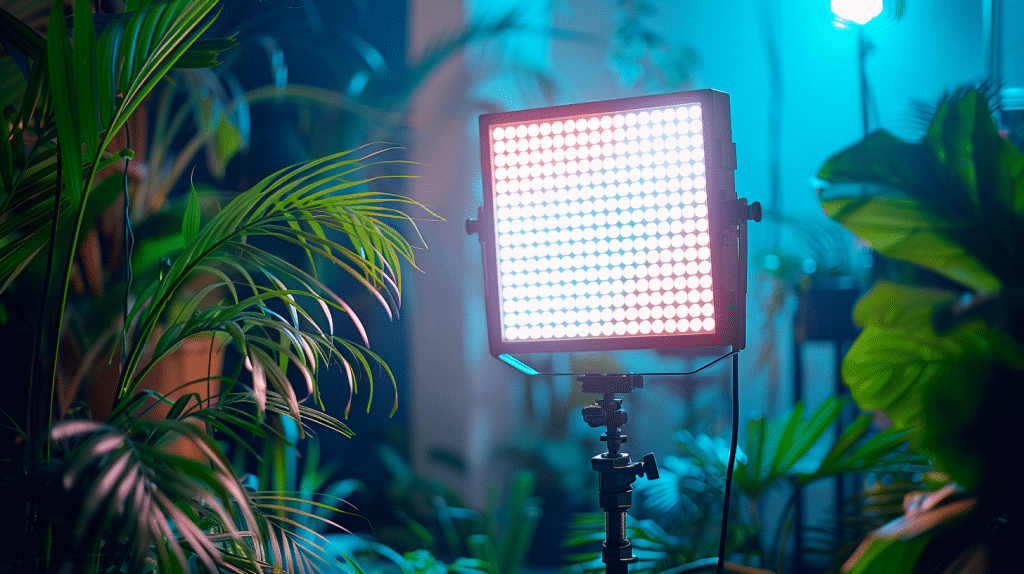
Illuminate your indoor video projects with the versatile and powerful lighting provided by LED panels.
LED panels offer a wide range of lighting options, making them ideal for various shooting scenarios. These panels are compact and lightweight, allowing for easy placement and adjustment to achieve your desired lighting setup. With adjustable color temperatures, brightness levels, and diffusion options, LED panels give you full control over the lighting conditions on your set.
One of the key advantages of LED panels is their energy efficiency. They consume less power compared to traditional lighting sources, making them a sustainable choice for your video shoots. The color accuracy of LED panels guarantees that your subjects appear natural and vibrant on camera, enhancing the overall quality of your footage.
Additionally, LED panels are versatile tools that can be used for everything from interviews to product shots. Their soft and even light output helps eliminate harsh shadows and provides a professional look to your videos.
Invest in LED panels to enhance the visual appeal of your indoor video productions.
Ring Lights for Flattering Portraits
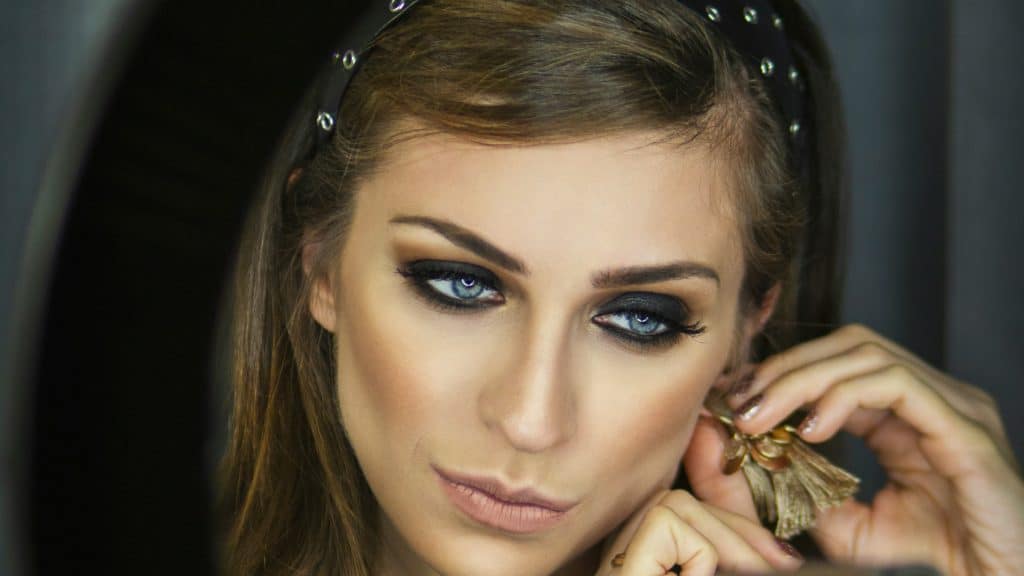
Enhance your portrait photography with the flattering and soft illumination provided by ring lights.
These circular LED lights are a popular choice for creating engaging portraits due to the even and diffused light they produce.
Here’s how ring lights can elevate your portrait photography:
- Soft and Even Lighting: The circular shape of the ring light helps to evenly distribute light around the subject, reducing harsh shadows and creating a flattering glow on the face.
- Circular Catchlights: Ring lights create unique circular catchlights in the subject’s eyes, adding an alluring and professional look to your portraits.
- Adjustable Brightness and Color Temperature: Many ring lights offer adjustable brightness levels and color temperature settings, allowing you to customize the lighting to suit different skin tones and shooting conditions.
- Compact and Portable: Ring lights are lightweight and easy to set up, making them ideal for on-the-go portrait shoots or small indoor spaces where larger lighting setups may not be practical.
Add a ring light to your gear collection and watch your portrait photography shine with beautiful, flattering illumination.
Softboxes for Soft, Diffused Light
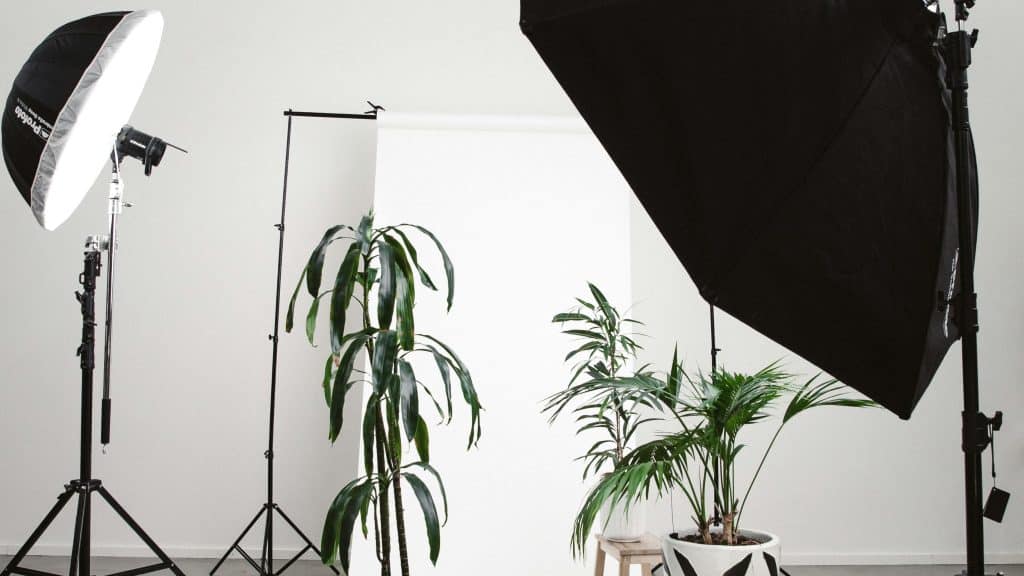
Softboxes provide a versatile and effective way to achieve soft, diffused lighting for your indoor video projects. These lighting tools consist of a translucent fabric stretched over a frame, often in a square or rectangular shape.
By placing a light source inside the box, the fabric diffuses the light, creating a gentle and even illumination that helps minimize harsh shadows and reduces glare on reflective surfaces. The size of the softbox determines the spread of light; larger softboxes produce softer light over a wider area, while smaller ones provide more focused diffusion.
When choosing a softbox for your indoor video shoots, consider factors like the size of your shooting space, the desired lighting effect, and the type of content you’re filming.
Softboxes are commonly used for interviews, product shots, and portrait videos where a flattering, soft light is essential.
Experimenting with the distance of the softbox from your subject can help you achieve the perfect balance of brightness and softness in your indoor video lighting setup.
Fresnel Lights for Precise Control
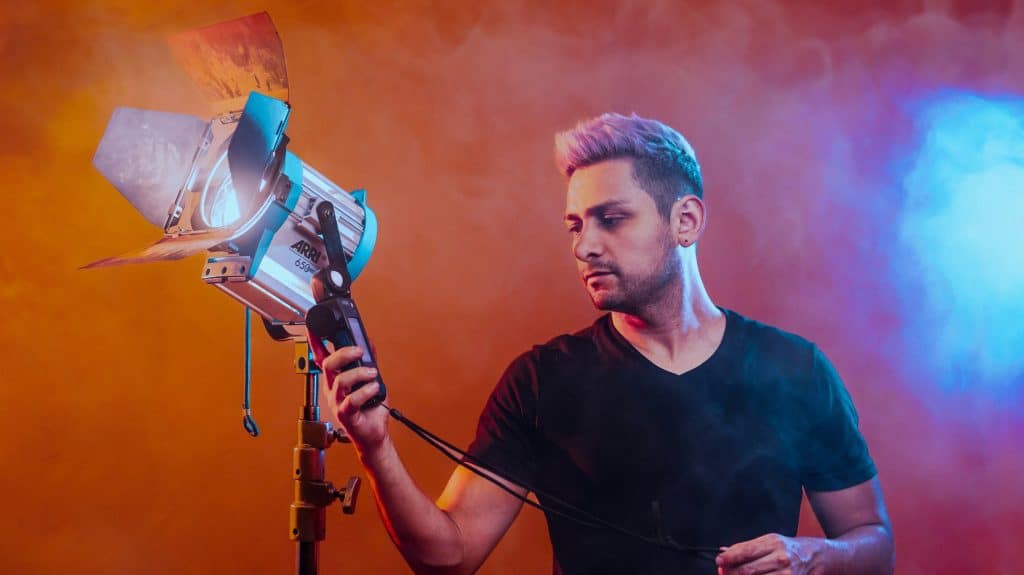
For more focused and precise lighting control in your indoor video projects, consider incorporating Fresnel lights into your setup.
Fresnel lights are versatile tools that offer adjustable beam angles, making them ideal for creating dramatic lighting effects and highlighting specific areas within your scene.
Here are some reasons why Fresnel lights can elevate your indoor video shoots:
- Adjustable Beam Angle: With a Fresnel light, you can easily adjust the beam angle to narrow or widen the light spread, giving you precise control over the illumination of your subject.
- Sharper Shadows: The unique design of Fresnel lights allows for sharper, more defined shadows, which can add depth and dimension to your footage.
- Focusable Light: Fresnel lights have a focusable lens that enables you to control the intensity and size of the light beam, allowing you to tailor the lighting to your specific needs.
- High Intensity Output: Despite their compact size, Fresnel lights can emit a high-intensity output, making them suitable for lighting subjects from a distance while maintaining clarity and detail.
Fluorescent Kits for Consistent Output
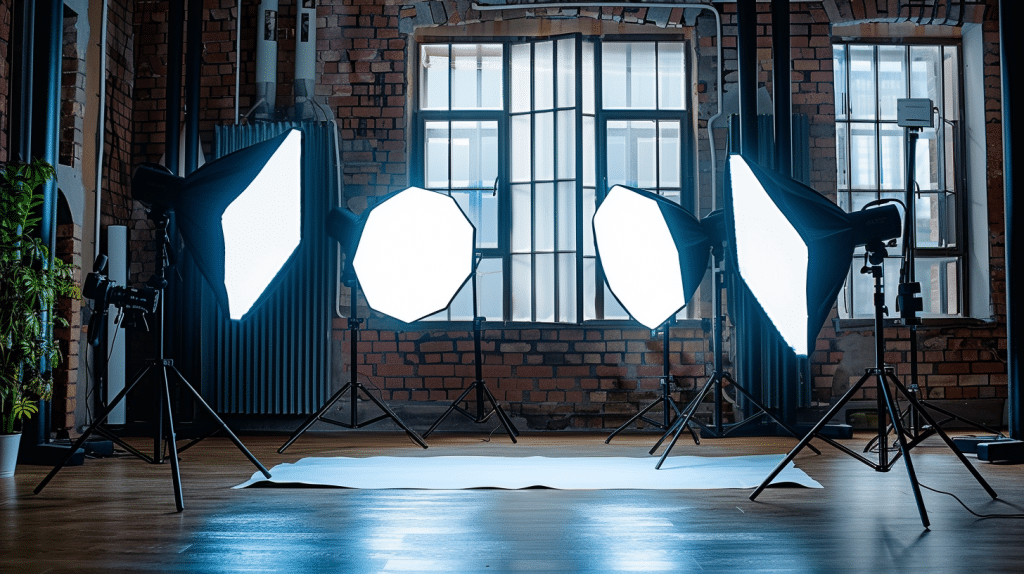
Fluorescent kits provide reliable output for your indoor video lighting needs, guaranteeing consistent illumination for your projects.
These kits are equipped with high-quality fluorescent tubes that emit a soft and even light, perfect for achieving a natural look in your videos. The color temperature of fluorescent lights closely resembles daylight, making them ideal for indoor shoots where you want to maintain a consistent white balance.
One of the main advantages of fluorescent kits is their energy efficiency. Compared to traditional incandescent lights, fluorescent lights consume less power while still delivering a bright output. This efficiency not only helps you save on electricity costs but also keeps your shooting environment cooler.
Moreover, fluorescent lights are known for their longevity, lasting much longer than other types of bulbs. This durability ensures that you can rely on your fluorescent kit for numerous video projects without worrying about frequent replacements.
With their consistent output and cost-effective operation, fluorescent kits are a valuable lighting solution for your indoor video shoots.
Light Stands and Mounting Solutions
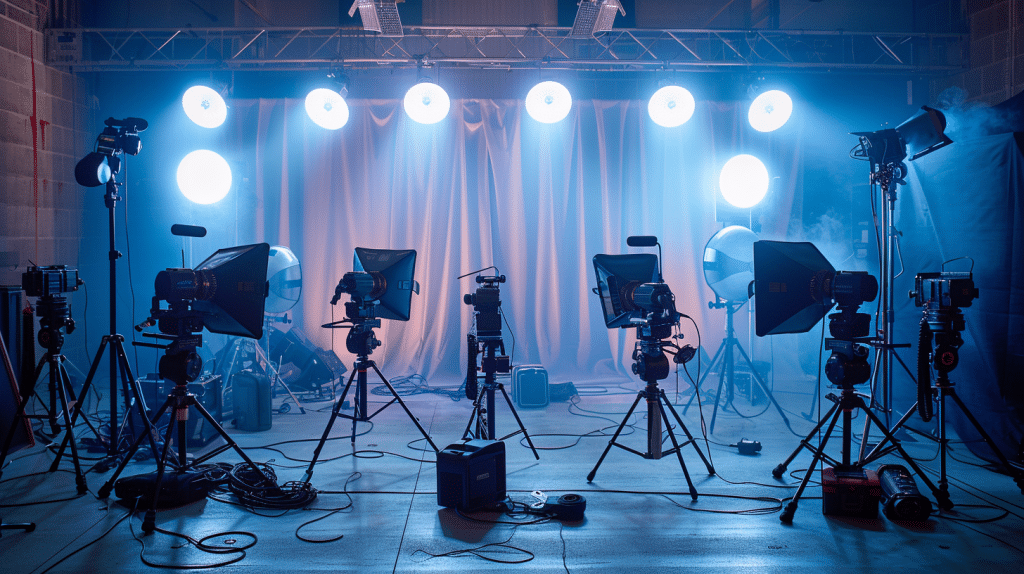
Enhance your indoor video lighting setup with versatile light stands and innovative mounting solutions for ideal control and precision in your filming environment.
When it comes to setting up your lights for indoor video shoots, having the right stands and mounting options can make a significant difference in the quality of your footage.
Here are some essential items to take into account:
- Heavy-Duty Light Stands: Invest in sturdy light stands that can support the weight of your lighting equipment and provide stability during your shoots.
- Boom Arms: Contemplate using boom arms to extend the reach of your lights and achieve overhead lighting setups without the need for additional stands.
- Clamps and Mounting Brackets: Use clamps and mounting brackets to secure lights to various surfaces such as poles, tables, or ceilings, allowing for versatile placement options.
- Sandbags: To prevent accidents and guarantee the safety of your equipment, use sandbags to weigh down your light stands and prevent them from tipping over.
Using Reflectors and Diffusers
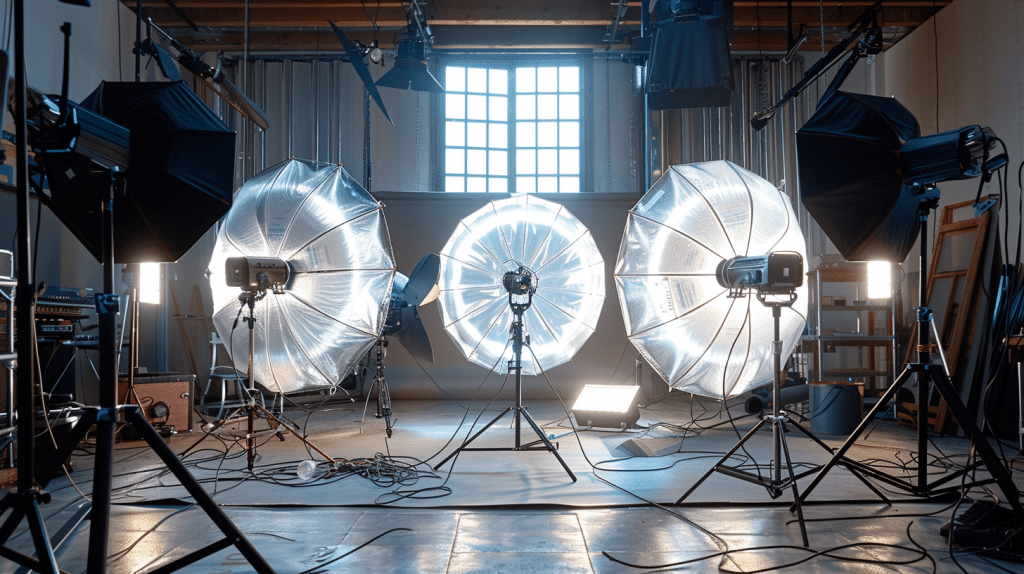
Illuminate your indoor video production with the strategic use of reflectors and diffusers to control and manipulate light for ideal filming conditions.
Reflectors bounce light back onto your subject, filling in shadows and creating a softer, more flattering light.
They come in various colors like silver, gold, and white, each producing a different effect. Silver reflectors provide a bright, contrasty light, while gold adds warmth, perfect for skin tones. White reflectors offer a softer, more natural light suitable for most situations.
On the other hand, diffusers soften harsh light by scattering it, resulting in a gentle and even illumination. They help reduce contrast and create a more pleasing look, especially when filming close-ups or portraits. Place a diffuser between your light source and the subject to achieve a softer, more flattering light quality.
By strategically positioning reflectors and diffusers, you can sculpt light to enhance your indoor video shoots and achieve professional-looking results.
Managing Color Temperature and Filters
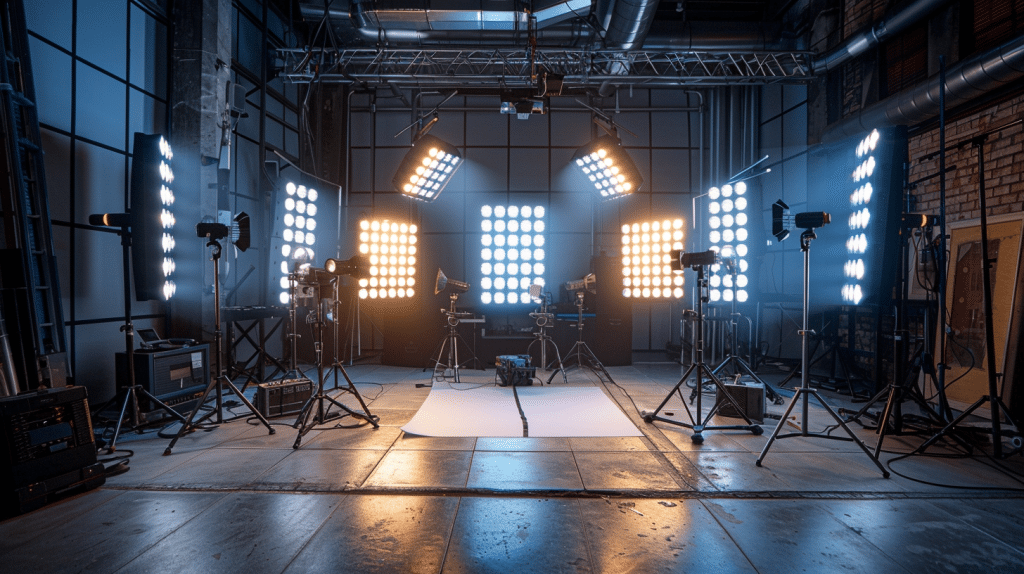
For the best indoor video lighting, consider the impact of color temperature and filters on your filming environment.
Managing color temperature and filters is important for achieving the right mood and tone in your videos.
Here are some essential tips to help you master this aspect of indoor video lighting:
- Understand Color Temperature: Different light sources emit varying color temperatures measured in Kelvin. Daylight is around 5600K, while tungsten lights are warmer at 3200K. Choose lighting equipment that matches your desired color temperature.
- Use Color Correction Gels: Filters or gels can be placed over lights to modify their color temperature. For instance, a blue gel can cool down the light, while an orange gel can warm it up. Experiment with different gels to achieve the perfect look.
- White Balance Setting: Adjust the white balance on your camera to match the color temperature of your lights. This ensures accurate colors in your footage and avoids unnatural color casts.
- Consider the Emotional Impact: Different color temperatures convey different emotions. Cooler tones evoke a sense of calmness, while warmer tones create a cozy atmosphere. Choose the color temperature that aligns with the mood you want to set for your video.
Lighting Setups for Different Scenes
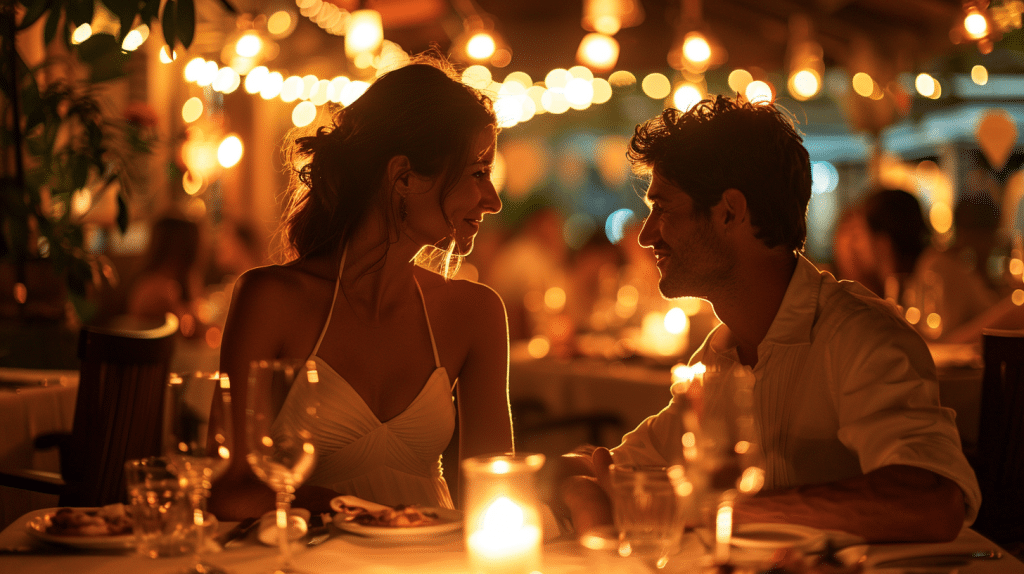
When setting up lighting for different scenes in your indoor video production, consider the mood and atmosphere you want to create to enhance the visual storytelling.
For a bright and cheerful scene, utilize soft, diffused lighting to create a warm and inviting ambiance. This can be achieved with softboxes or umbrella lights to evenly illuminate the space without harsh shadows.
In contrast, if you’re aiming for a dramatic and intense scene, consider using harsher lighting with deep shadows to heighten the tension and add depth to the shot. This effect can be achieved by using directional spotlights or barn doors to control the light and create striking contrasts.
For a romantic or intimate setting, opt for low-key lighting with a focus on creating soft pools of light to accentuate key elements in the scene while allowing the rest to fade into gentle shadows. This can be achieved with accent lights or even candles for a cozy and romantic atmosphere.
Remember, the right lighting setup can greatly enhance the mood and emotion of your indoor video scenes.
Frequently Asked Questions
How do I choose the right color temperature for my indoor video lighting?
Choosing the right color temperature for your indoor video lighting depends on several factors, including the mood you want to convey and the existing light sources in your environment.
Generally, daylight-balanced lights (around 5600K) are used for a crisp, clean look, while warmer temperatures (around 3200K) create a cozier atmosphere.
Consider the purpose of your video and the emotional response you want to evoke from your audience. For example, cooler temperatures work well for corporate or tech-related content, while warmer tones are ideal for lifestyle or home-related videos.
It’s also important to match your lighting with any natural light sources to maintain consistency. Many modern LED lights offer adjustable color temperatures, allowing you to experiment and find the perfect balance for your specific needs.
Remember to adjust your camera’s white balance accordingly to ensure accurate color reproduction in your final footage.
What are the advantages of using LED panels over traditional lighting sources?
LED panels offer numerous advantages over traditional lighting sources, making them a popular choice for indoor video production.
Firstly, LED panels are highly energy-efficient, consuming less power while producing bright, consistent light. This efficiency not only reduces electricity costs but also generates less heat, creating a more comfortable environment for talent and crew.
LED panels are incredibly versatile, often featuring adjustable color temperature and brightness settings, allowing for precise control over your lighting setup. Their compact and lightweight design makes them easy to transport and set up, ideal for videographers who frequently work on location.
Many LED panels offer a high Color Rendering Index (CRI), ensuring accurate color reproduction in your footage.
Additionally, LED panels have a long lifespan, reducing the need for frequent bulb replacements and lowering long-term costs. Their ability to produce flicker-free light at various frame rates is particularly beneficial for video production, ensuring smooth, high-quality footage.
How can I effectively use softboxes to improve the quality of my indoor videos?
Softboxes are excellent tools for creating soft, diffused light that flatters subjects and minimizes harsh shadows in indoor video productions.
To use softboxes effectively, start by positioning them at a 45-degree angle to your subject, which helps create depth and dimension. The size of the softbox matters; larger softboxes produce softer light over a wider area, ideal for full-body shots or group scenes, while smaller softboxes offer more focused diffusion for close-ups or product shots.
Experiment with the distance between the softbox and your subject; moving it closer creates softer light but reduces the coverage area, while moving it farther away increases the coverage but may result in slightly harder light.
For interviews or talking-head videos, consider using two softboxes in a classic two-point lighting setup, with one as the key light and the other as fill.
Don’t be afraid to layer softboxes with other lighting tools like reflectors or LED panels to achieve the perfect balance of soft, flattering light for your indoor video shoots.
What are some common mistakes to avoid when setting up lighting for indoor video shoots?
When setting up lighting for indoor video shoots, there are several common mistakes to avoid.
One of the most frequent errors is relying solely on overhead lighting, which can create unflattering shadows and a flat look. Instead, use a combination of key, fill, and backlights to add depth and dimension to your shots.
Another mistake is neglecting to consider the existing ambient light in the room, which can lead to inconsistent lighting or color temperature issues. Always assess the natural light sources and adjust your artificial lighting accordingly.
Overexposure is another pitfall; be careful not to blow out highlights or create harsh, distracting reflections on glasses or shiny surfaces. Conversely, underexposing your subject can result in grainy footage and loss of detail.
It’s crucial to find the right balance and use tools like light meters or your camera’s histogram to ensure proper exposure. Ignoring the background lighting can also be detrimental; make sure to light your background appropriately to create depth and avoid a disconnected look between your subject and their surroundings.
Lastly, failing to secure your lighting equipment properly can lead to accidents or inconsistent lighting throughout your shoot. Always use sandbags or weights to stabilize light stands and ensure all cables are safely managed.
How can I achieve professional-looking lighting for indoor video shoots on a budget?
Achieving professional-looking lighting for indoor video shoots on a budget is possible with some creativity and strategic planning.
Start by maximizing natural light; position your subject near windows and use reflectors to bounce and shape the available light. Invest in a few key pieces of affordable lighting equipment, such as clamp lights with daylight-balanced bulbs, which can be easily attached to various surfaces for flexible lighting setups.
Consider DIY solutions like creating your own softbox using a cardboard box and diffusion material, or constructing a ring light using LED strips. Household items can also serve as improvised lighting tools; white foam boards make excellent reflectors, while sheer curtains can act as diffusers.
Learn to work with practical lights already present in your shooting environment, such as lamps or overhead fixtures, by adjusting their positions or using gels to modify their color temperature. Experiment with different lighting techniques like bouncing light off walls or ceilings to create softer, more flattering illumination.
Remember that consistency is key; even with budget equipment, maintaining a uniform look throughout your video will contribute to a more professional appearance.
Lastly, invest time in learning post-production techniques to enhance your footage, such as color grading and exposure adjustments, which can significantly improve the final look of your videos without requiring expensive gear.
Share:
Search our blog:
Follow us on:
